DIY Entryway Bench

Look who finally has a front entryway bench! This one is another Pinterest inspiration that led me down the rabbit hole of trying to track down the perfect bench to put by my front door. The original pin I saw linked back to an Instagram post that, lucky for me, had the products tagged. Unlucky for me, the bench was a Home Goods find and probably wasn’t something I was ever going to come across. I tried forever to find something similar enough but I just couldn’t find the right one. So once again, I’ve decided to make my own! Let’s get started with the step-by-step.
I chose a 2” x 12” x 8’ piece of wood (and crossed my fingers that this would be sturdy enough). I had it cut at the store into two 44” long pieces, with a little leftover that I think I’ll use to make a little stool for something.

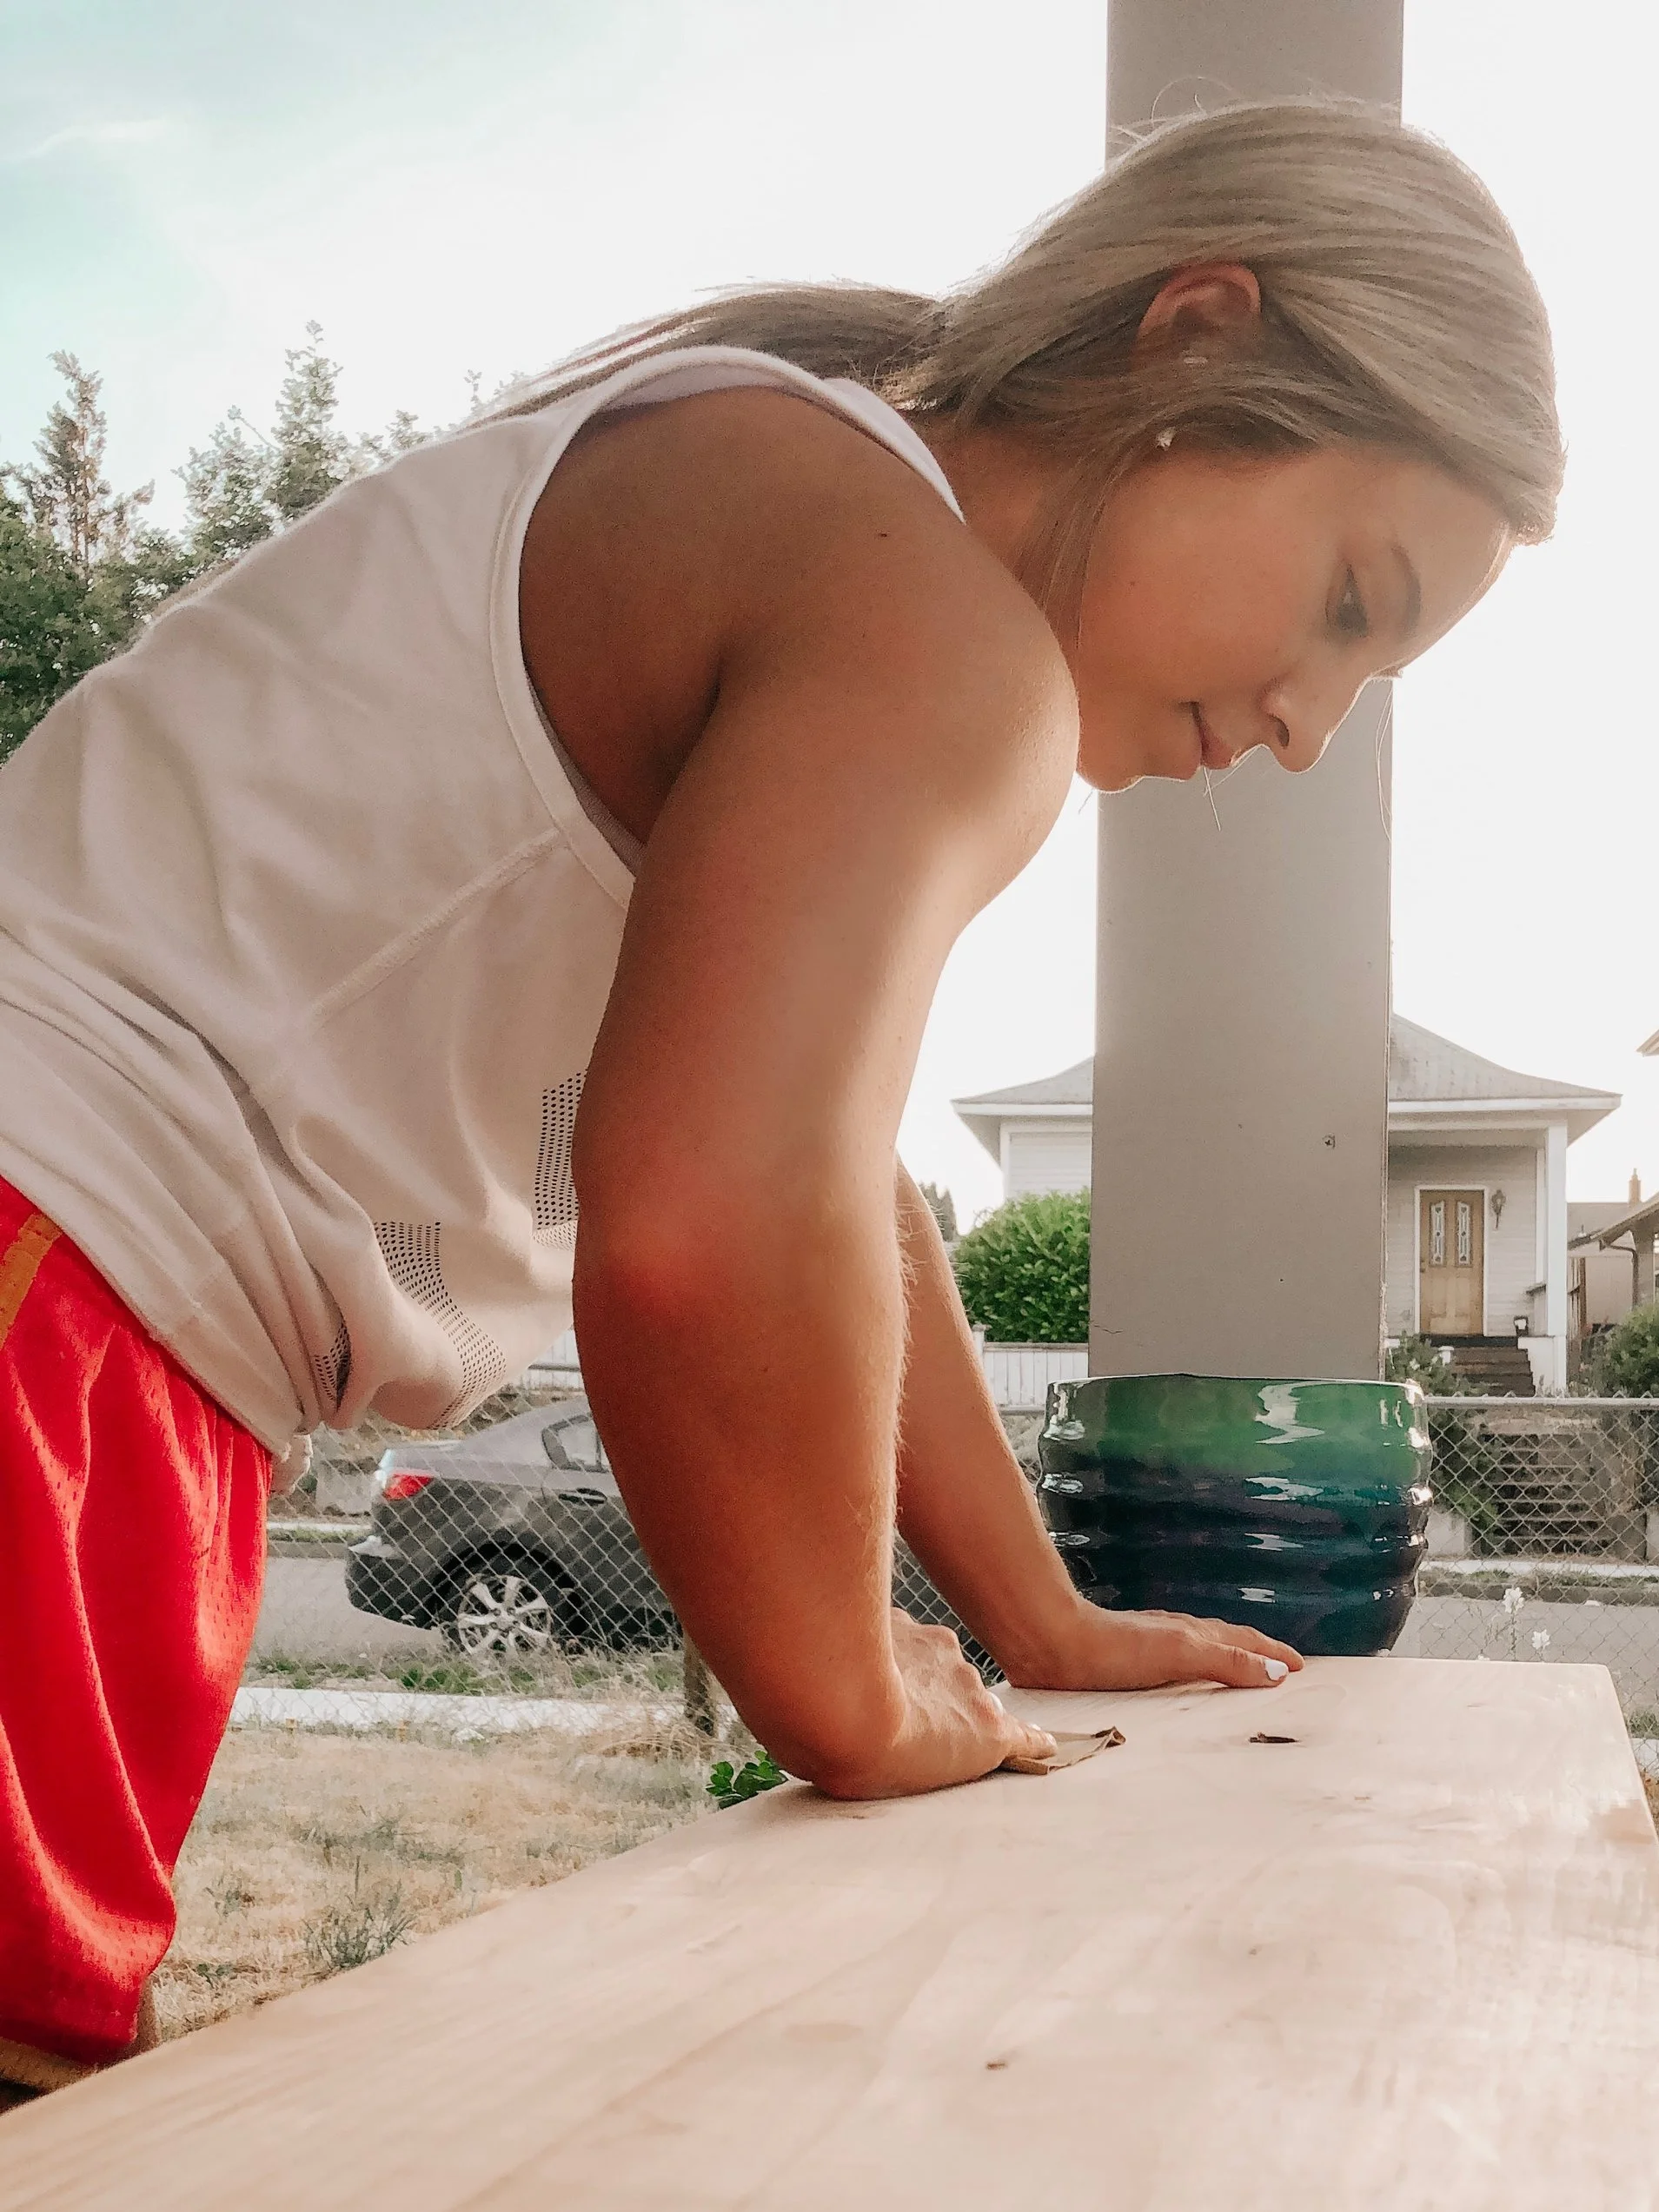
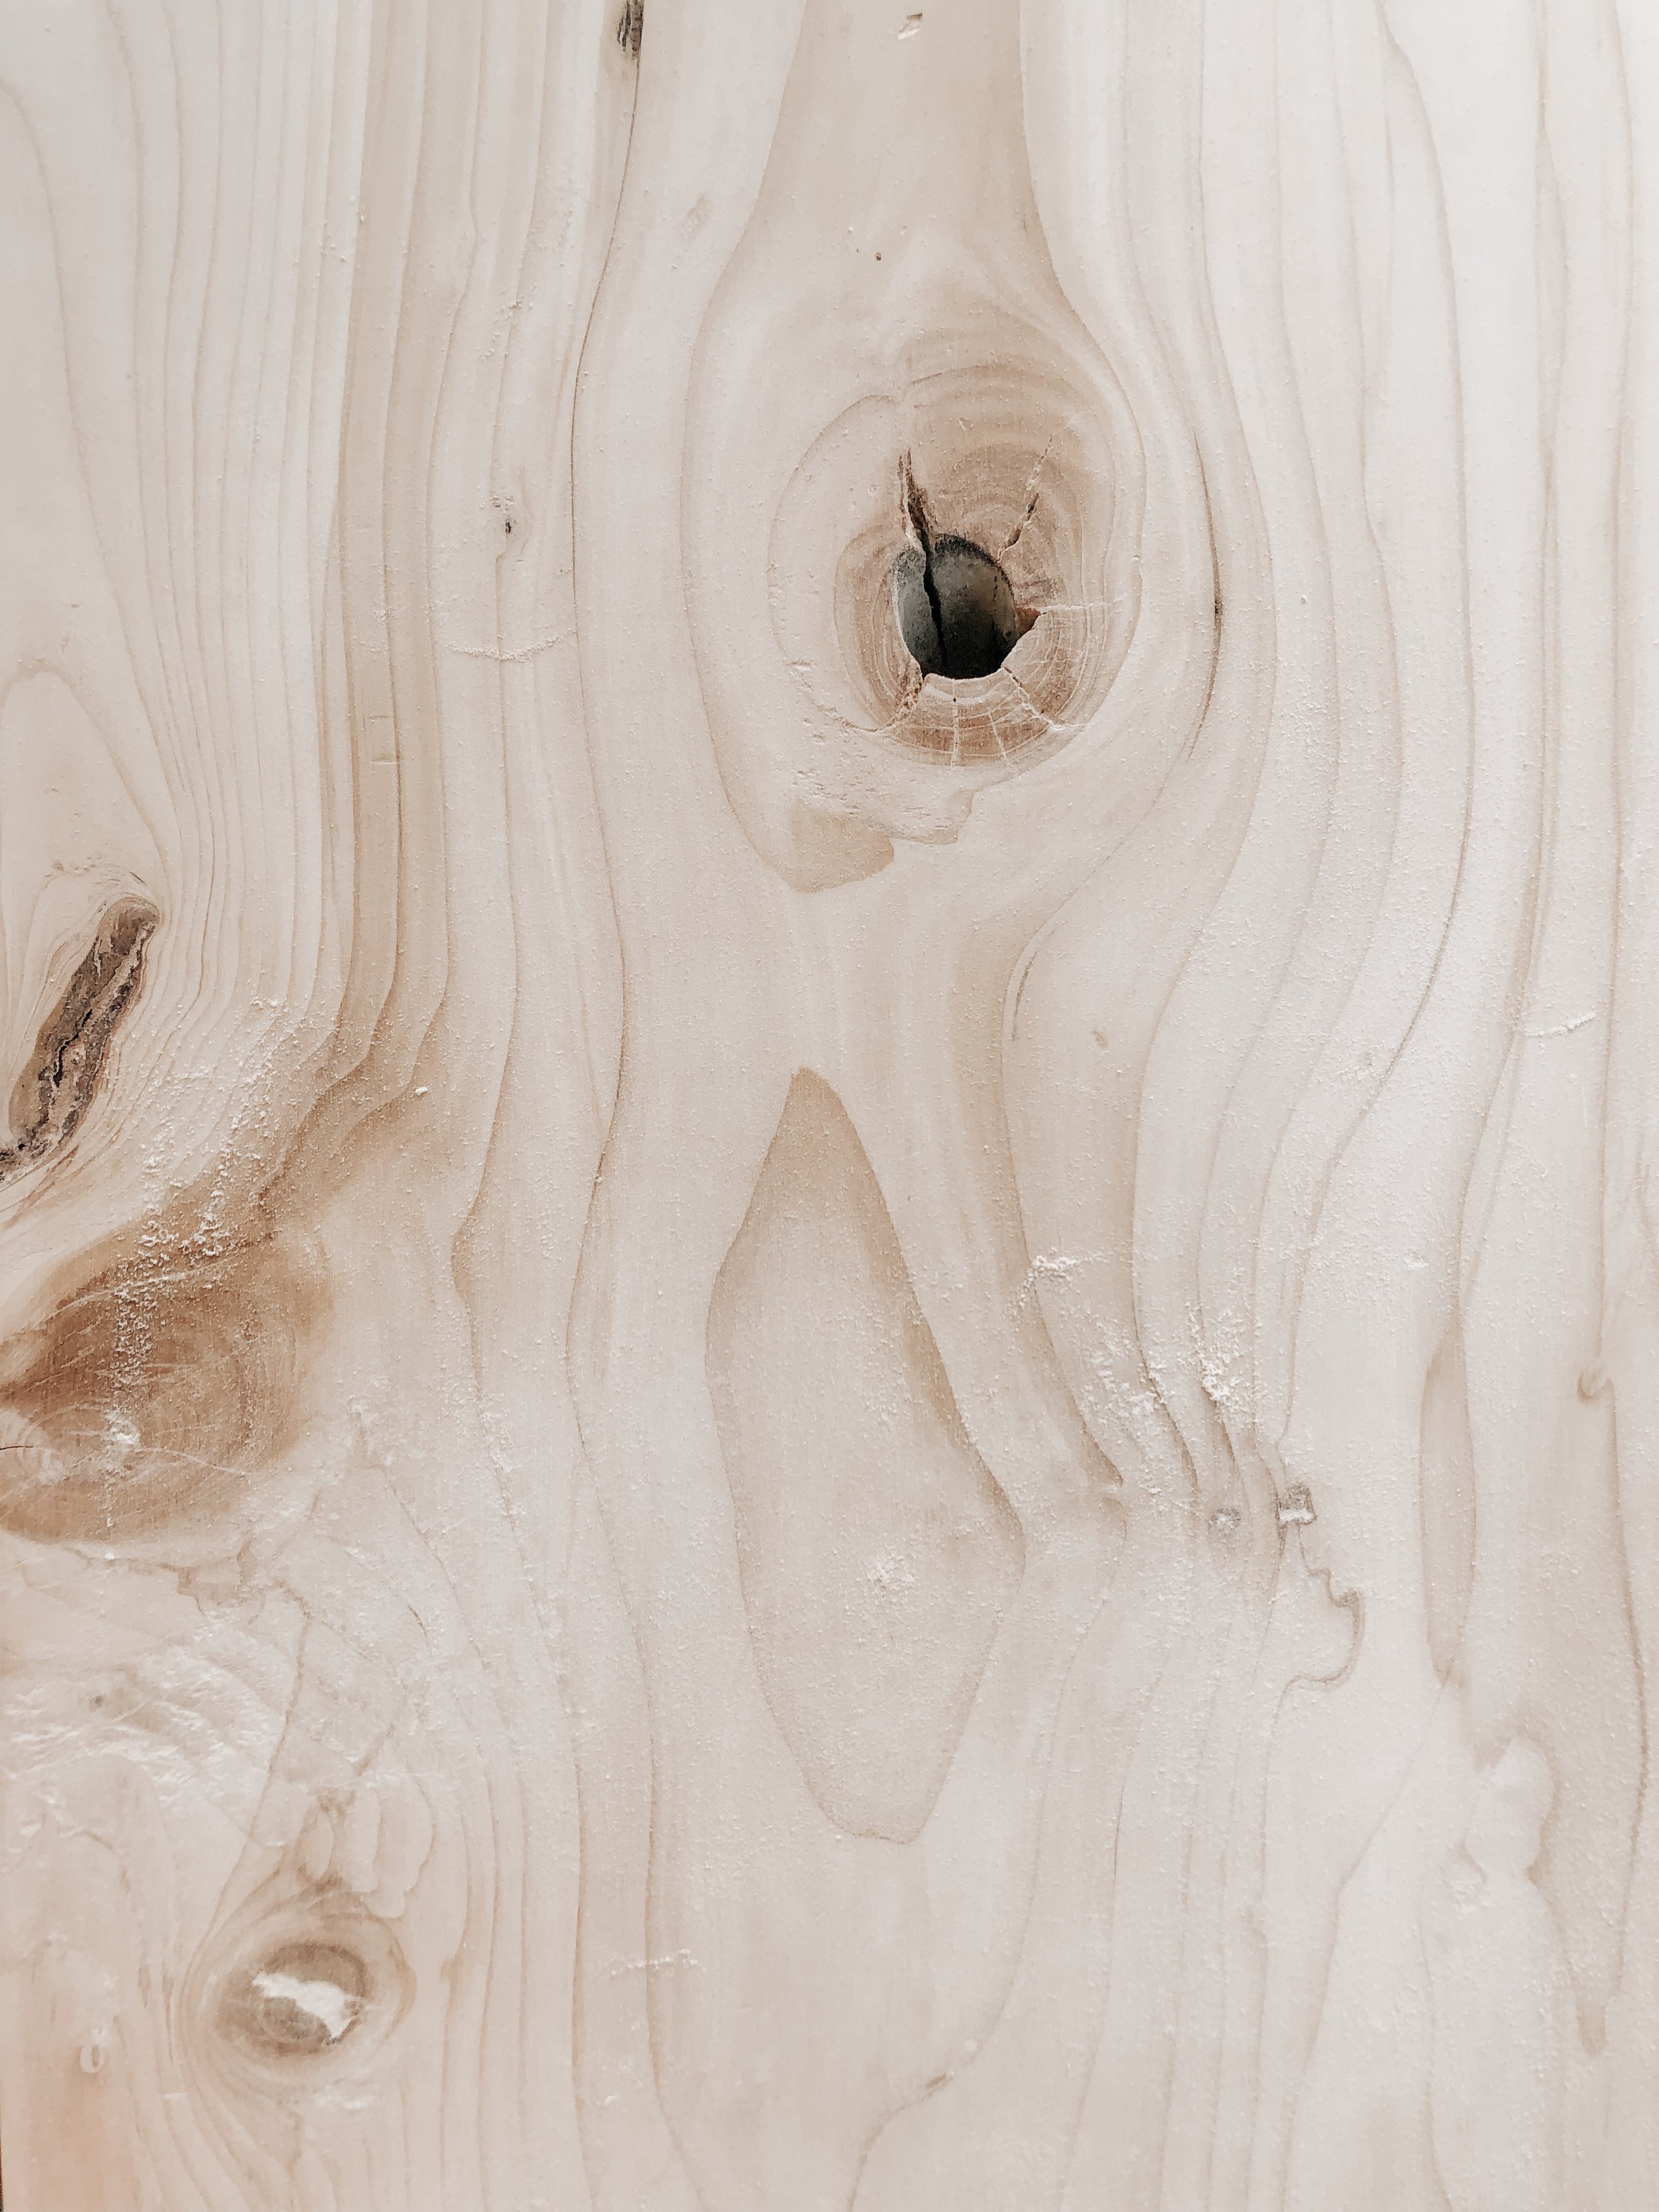
Probably the hardest part about a wood based DIY is sanding away all the imperfections and snags until you’re left with a nice, smooth canvas. Despite my many projects, I still don’t have a sander, so I did this one by hand, going in with a coarser grit first, then down to a fine grit to really smooth everything out. After the wood is sanded, be sure to give it a wipe down so that none of dust is leftover in any of the knots or crevices that might be in the wood.
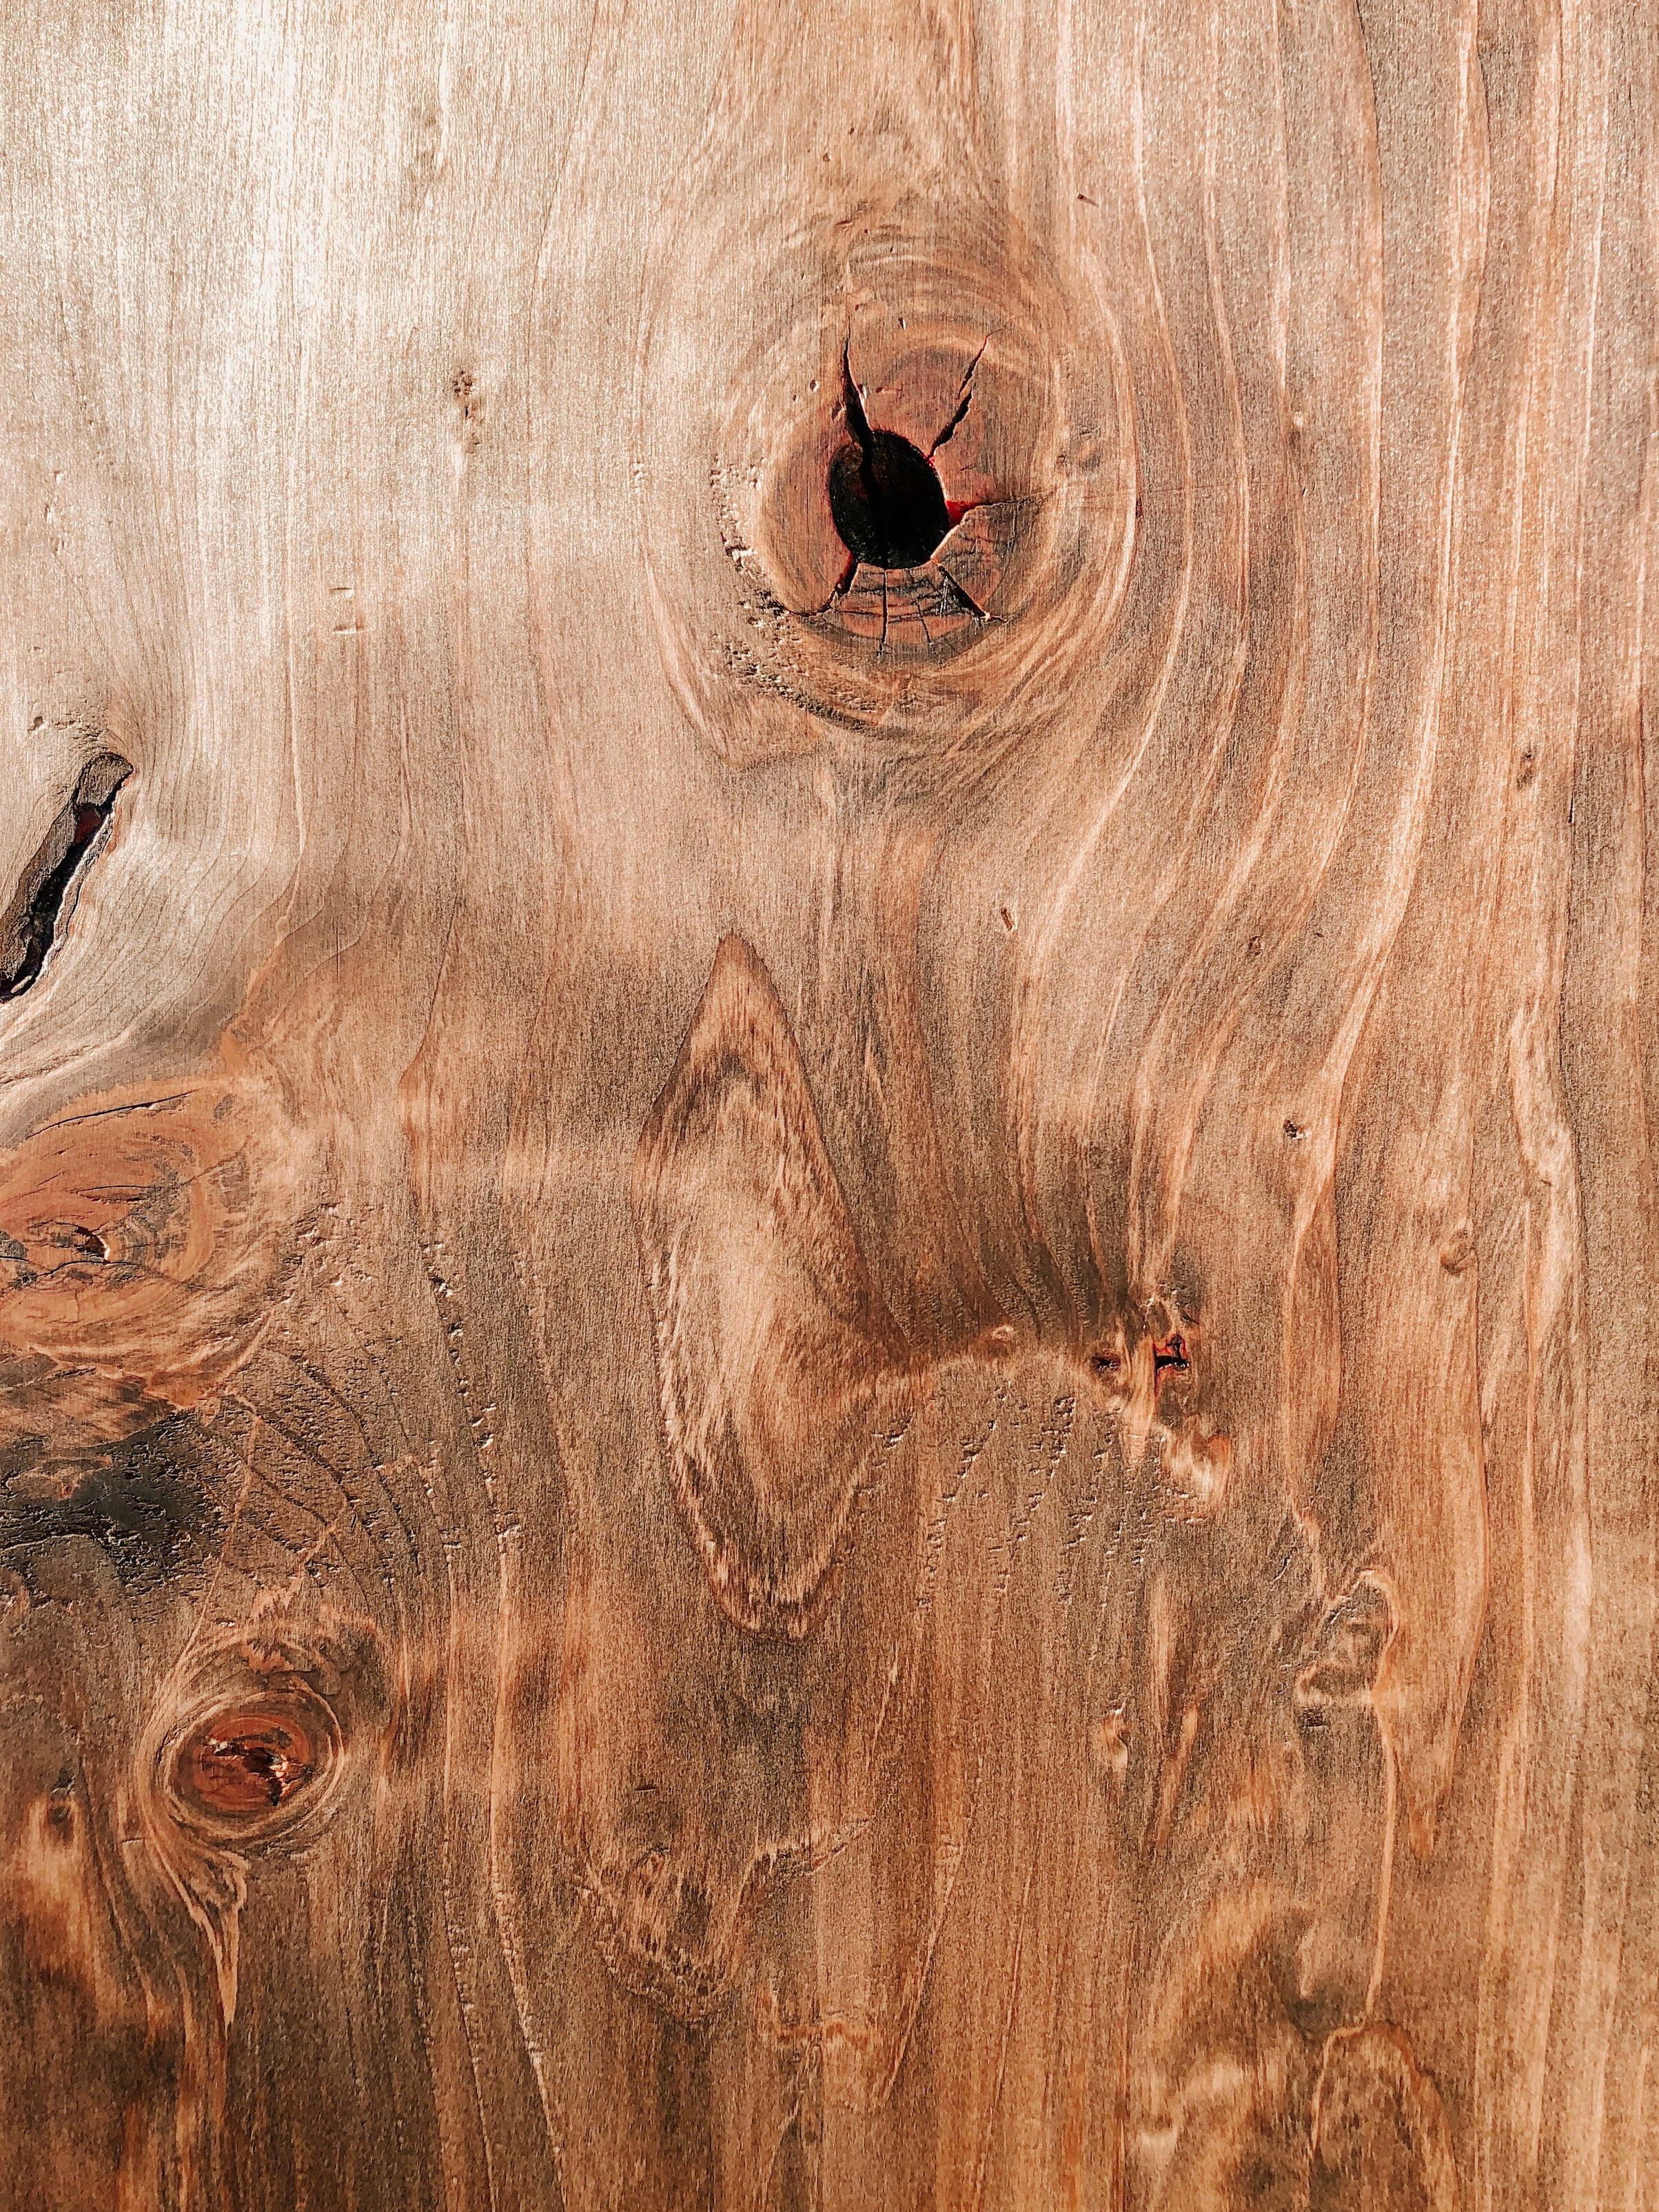
For a bit of a darker colored wood, I used Minwax wood stain in the color Honey. To stain the two pieces of wood, I propped each up on what I could find around my house, which ended up being a 5 gallon bucked and a small step stool. I used an old (but clean) throw-away rag to wipe on the stain in strokes along the grain of the wood, making sure to use enough to completely soak into the ends of the pieces and the knots. I only applied one coat, waited about 15 minutes for it to soak into the wood, and then wiped the excess with another rag. I was trying to match some of the mango wood that I have in my house but I think it turned out a little darker than intended so I probably could’ve wiped off the stain a little sooner than I did.
I finished the wood with three coats of Minwax Fast-Drying Polyurethane Clear Semi-Gloss Spray. I’ve never used the spray so I thought I’d give it a try because it seemed like it’d be easier than brushing it on. It was nice and quick but sort of hard to see where exactly it was covering.
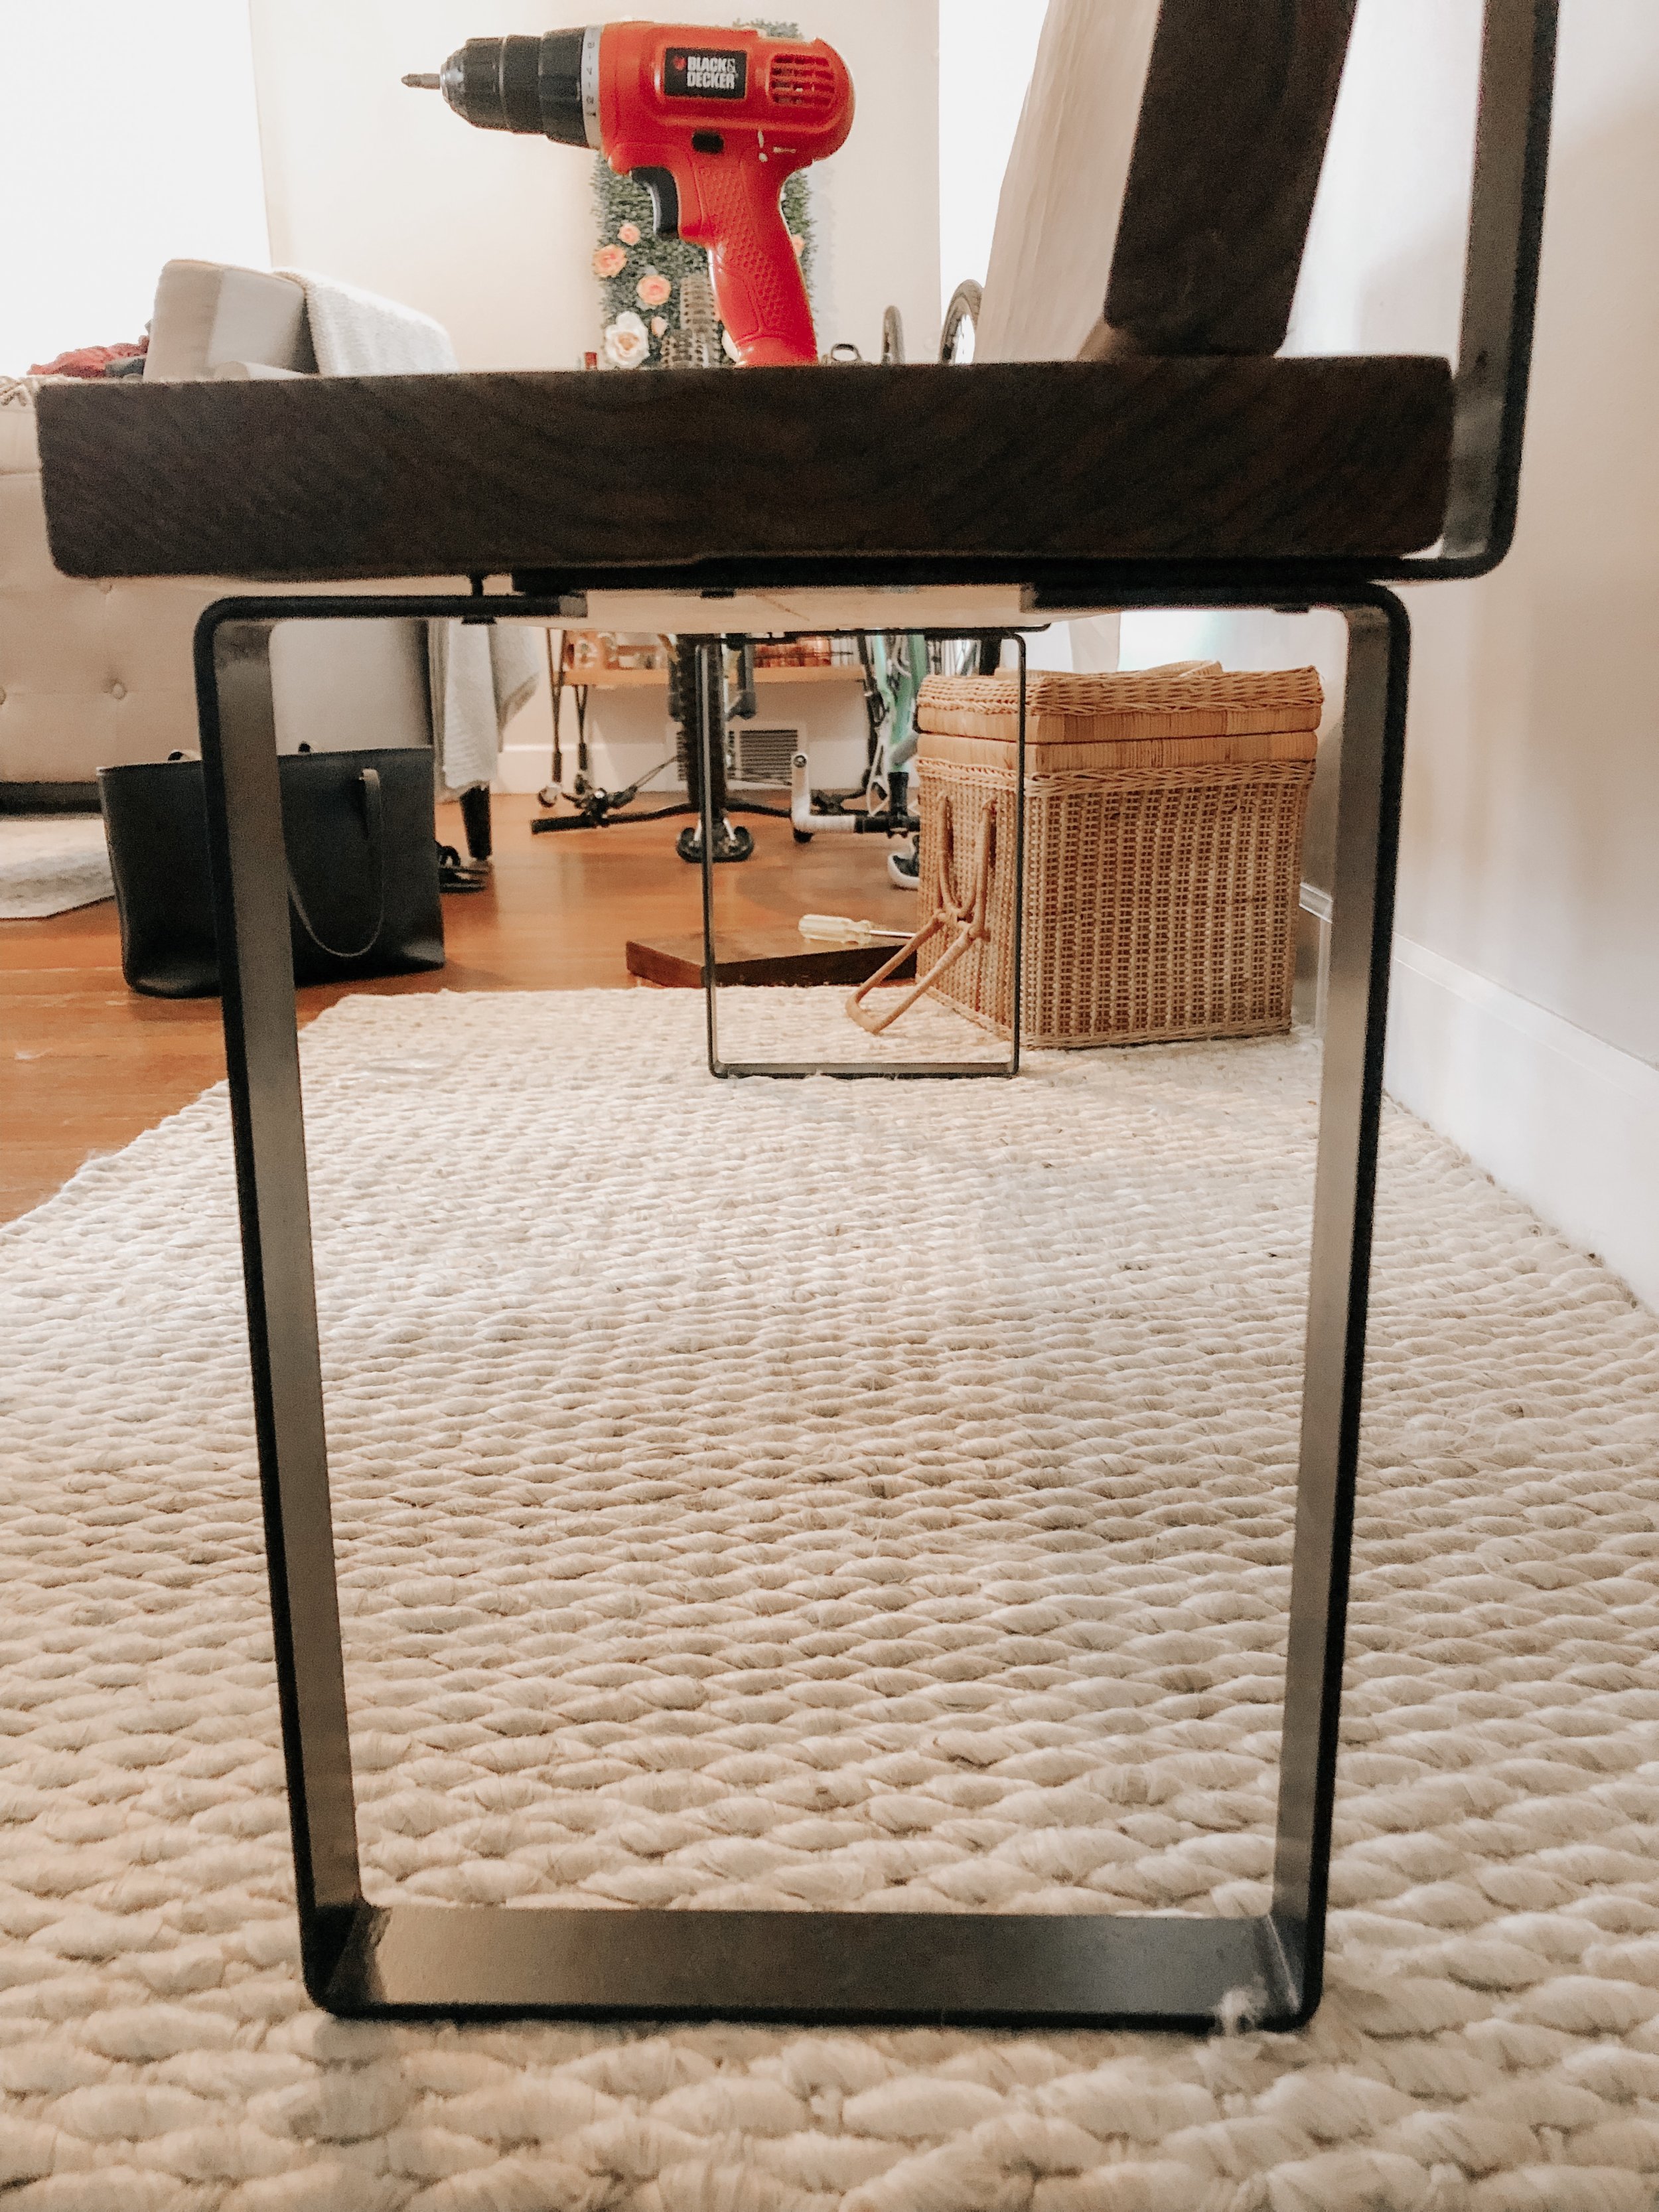
I found these U-Shaped Metal Legs on Amazon, they come in a two-pack and you can customize the height and depth of the legs. I wanted the bench to sit at about 16” tall, and since the wood is a little bit thicker than 1.5”, I went for the 14” tall legs. I chose the depth of the legs (10”) based on the depth of wood and took an inch off just to be sure that it wouldn’t hang out further than the seat.

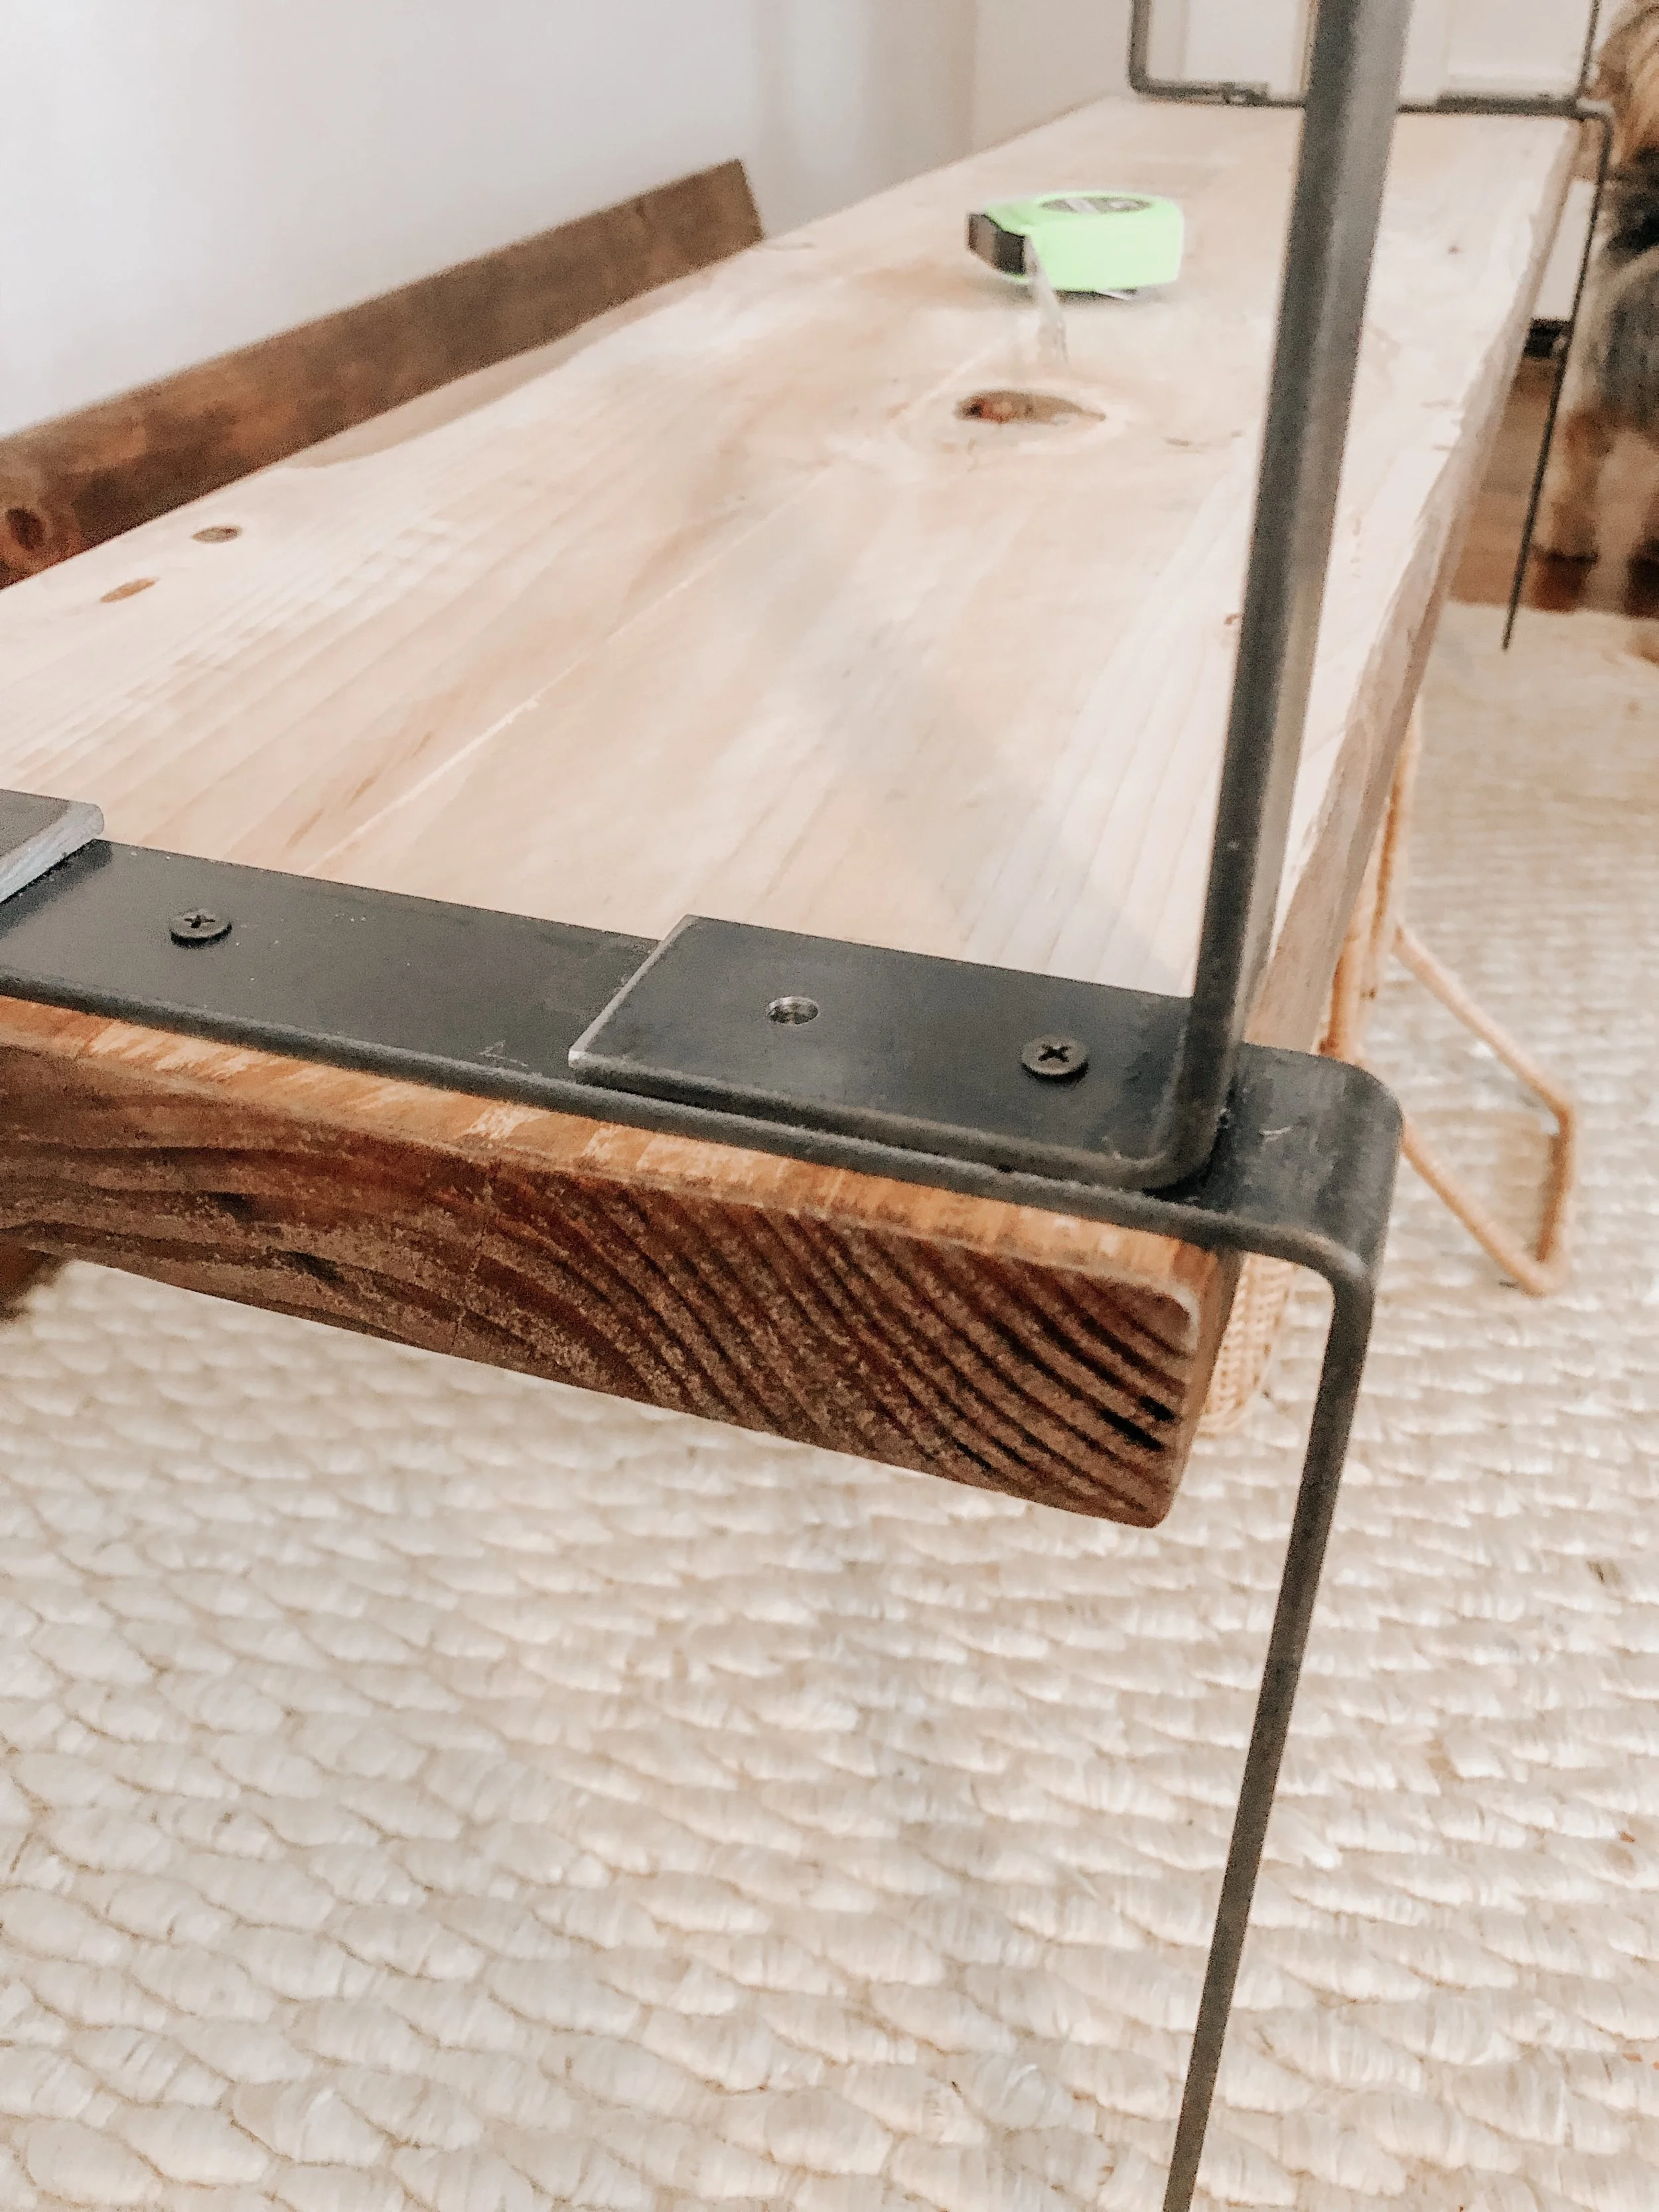
To connect the two pieces of wood that make up the seat and the seat-back, I found these L-shaped brackets. These were from the same makers of the U-shaped legs, which made it easy to get parts with a matching black color. The length on both ends of the L were also customizable. I wanted to make sure the seat-back would hover several inches above the seat, so I went with the longest one I could find, which was 12” x 8”. If they had a 12” x 10” bracket, I would have gotten that instead so that the bracket would span further across the depth of the seat and extend along the entire length of the metal legs that stack on top of the brackets (I’ll explain this in a second).
I wanted the legs, and the brackets that connect the back of the bench, to line up and also wanted the back of the bench to be offset further back than the seat. To get the parts to line up, I had to stack one on top of the other and try to align the holes, so the placement of the holes in the legs and brackets pretty much determined where everything would be positioned.

The bracket stops a little short but is just long enough to run between the wood and both sections of the top of the legs so that they sit evenly. (This is why I said I would’ve gotten a longer bracket if I could’ve found one!) You can see on the left side, the screw goes through the top of the leg, then the bracket, then the wood, but on the right side it goes through the top of the leg and straight into the wood, with a gap that’s held apart with the slight bit of the bracket overlap.
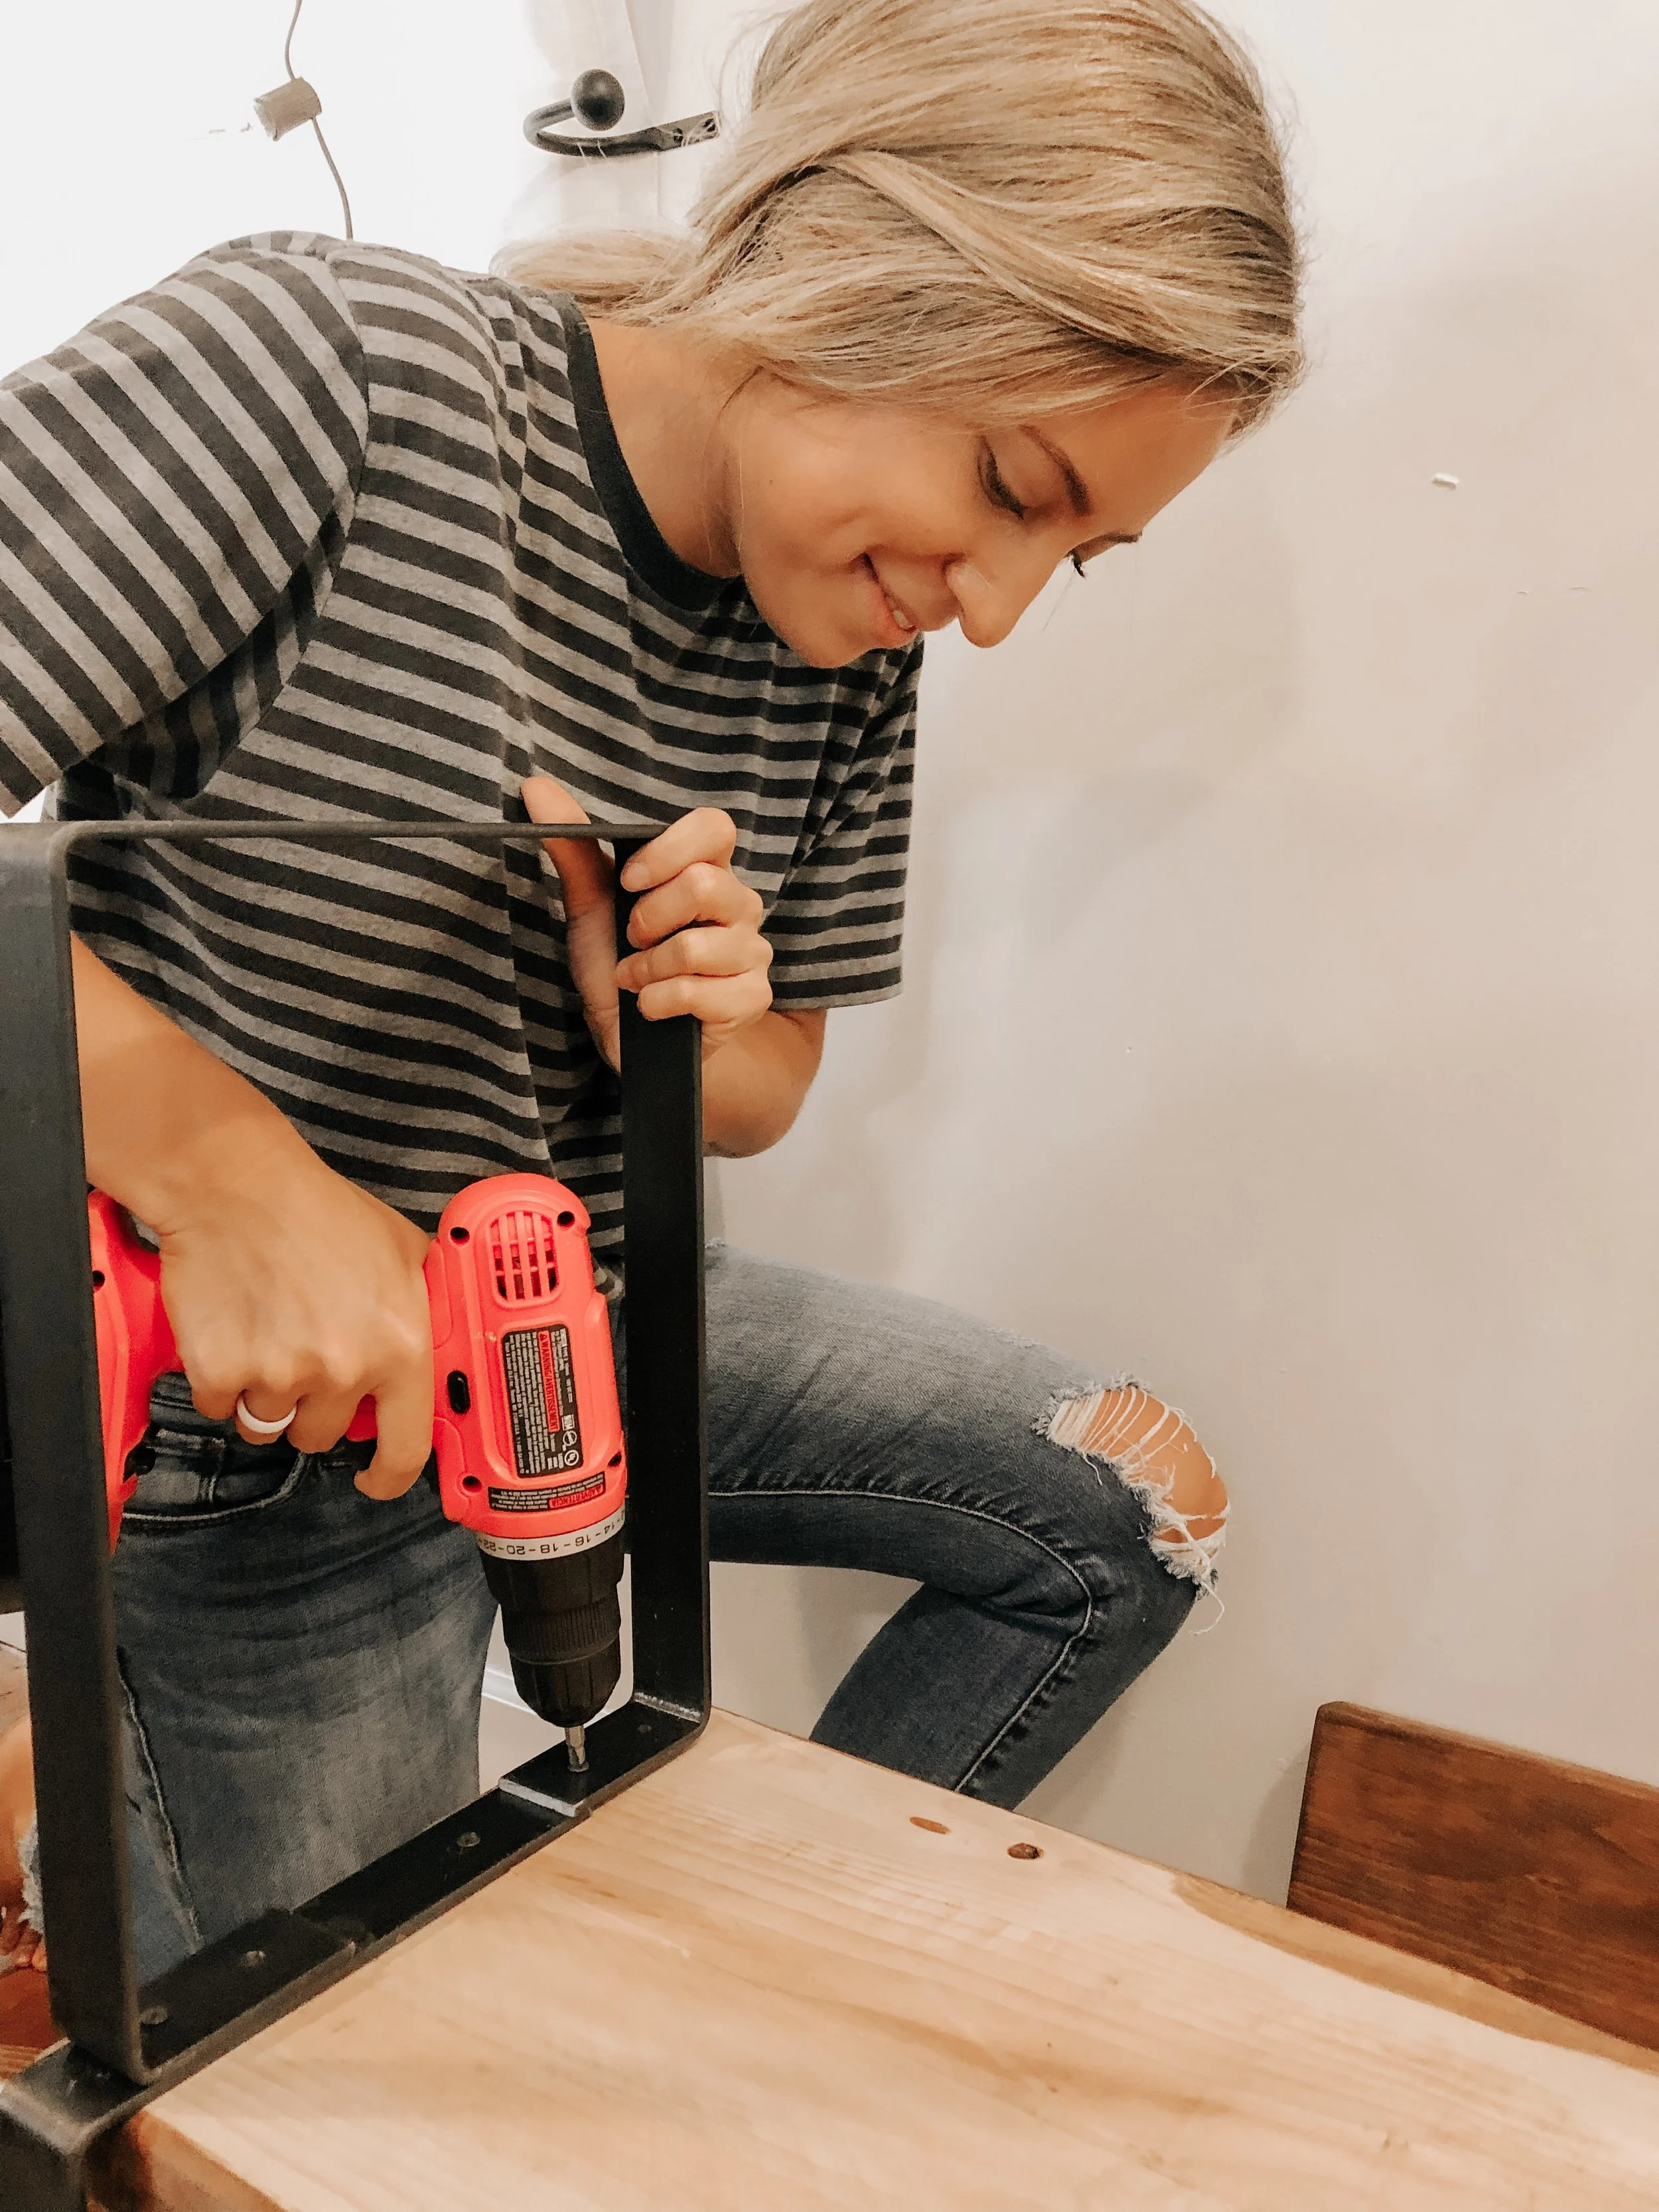
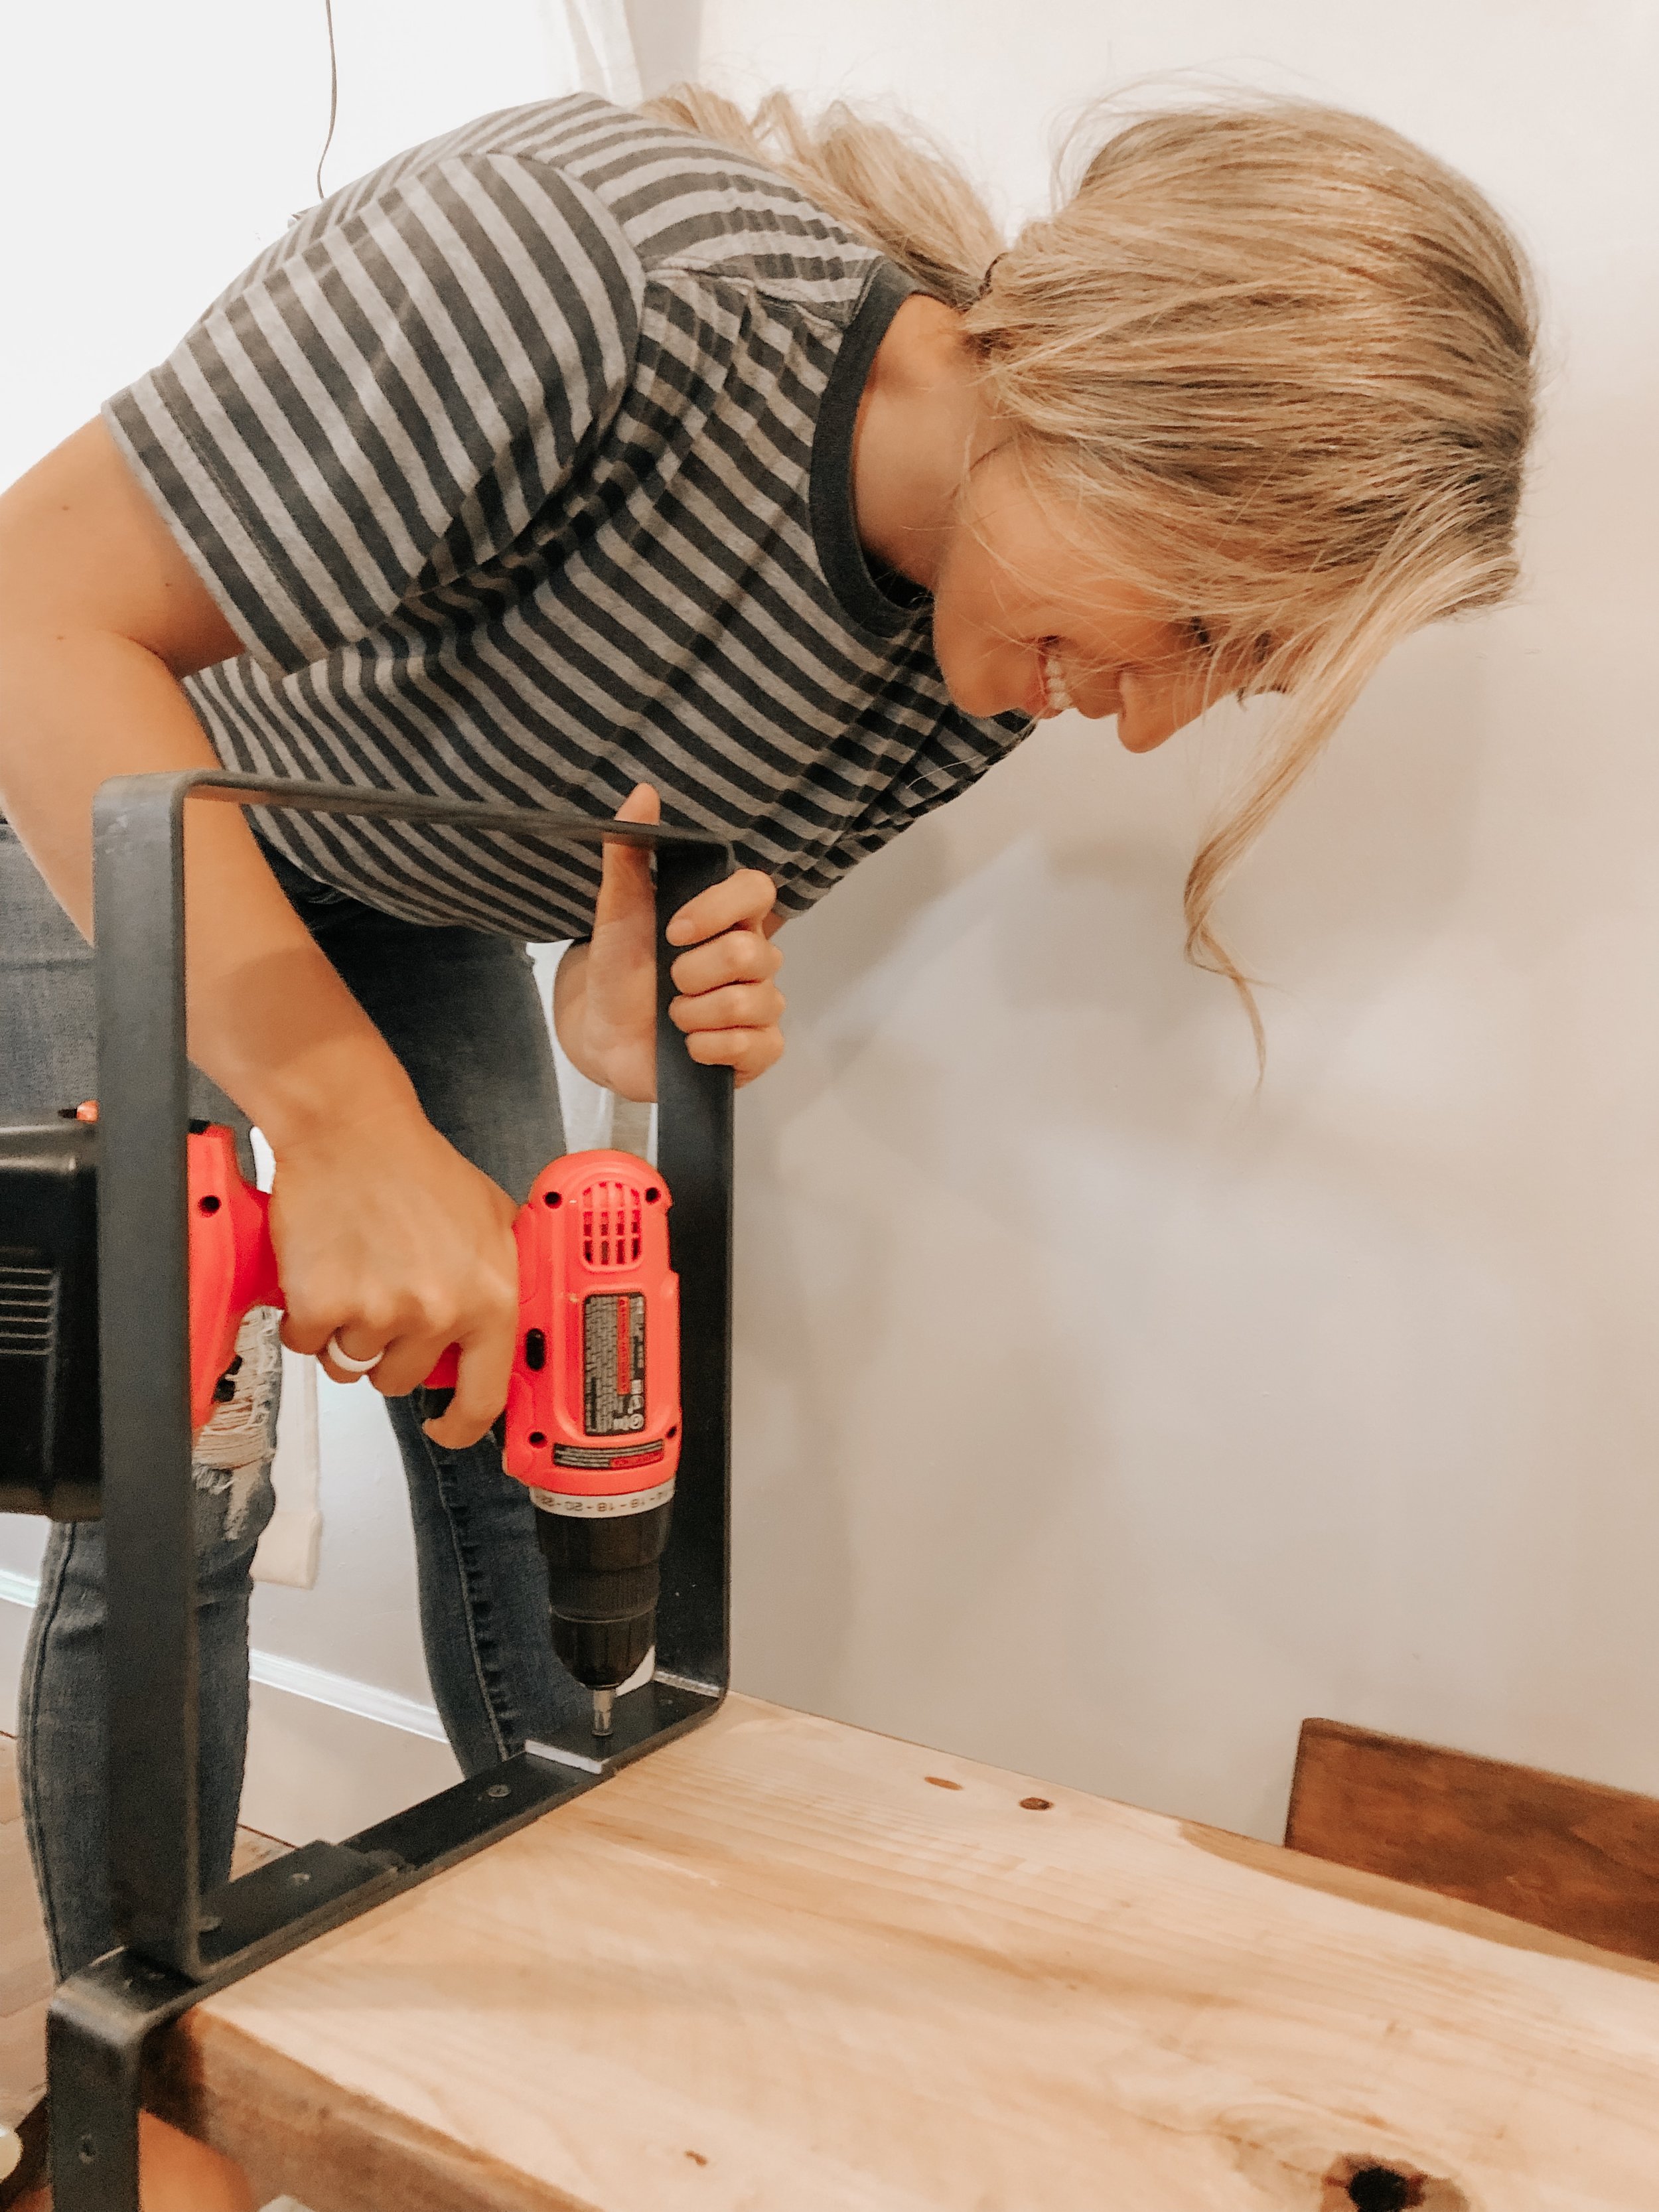
The easiest way I found to screw the parts together was to again prop up the piece of wood that would be the seat on something that would give it enough clearance for the 12” bracket to hang over without touching the ground. I oriented the bracket so that the short side was laying on the underside of the seat (measuring 1/4” in from the end of the bench), and the long side of the bracket was hanging over the side, bent downward. (If you’re in need of one, here’s the Black & Decker drill I use for everything.)
I tried to put the hole closest to the bend in the bracket as close to the back edge of the wood as I could so that the seat-back would be offset at least a little bit. Then I lined up the holes in the legs and bracket and screwed them in with the screws that came with the brackets.
To make sure the screws were long enough to hold but also not too long that they pierce through to the top side of the wood, I used the longer screws to go through the holes that went through the leg and bracket, and then used the shorter screws to go through the hole that goes directly from the bracket to the wood.
I measured how far the metal parts were from the end and edges of the wood so that I could duplicate the process on the other side.

Once everything was screwed in and secured to the bench seat, I flipped the whole thing upright so I could work on getting the seat-back attached. I actually propped up a box between the bench seat and the seat back to hold it at the height I wanted it, measured in 1/4” from then end of each side, to match where I screwed the legs and brackets in on the bench seat, and screwed on the seat back using the rest of the shorter screws. I eyeballed how high I wanted the seat back to be floating above the seat (it ended up being about a 5.5” distance) and used a level to make sure it was even.

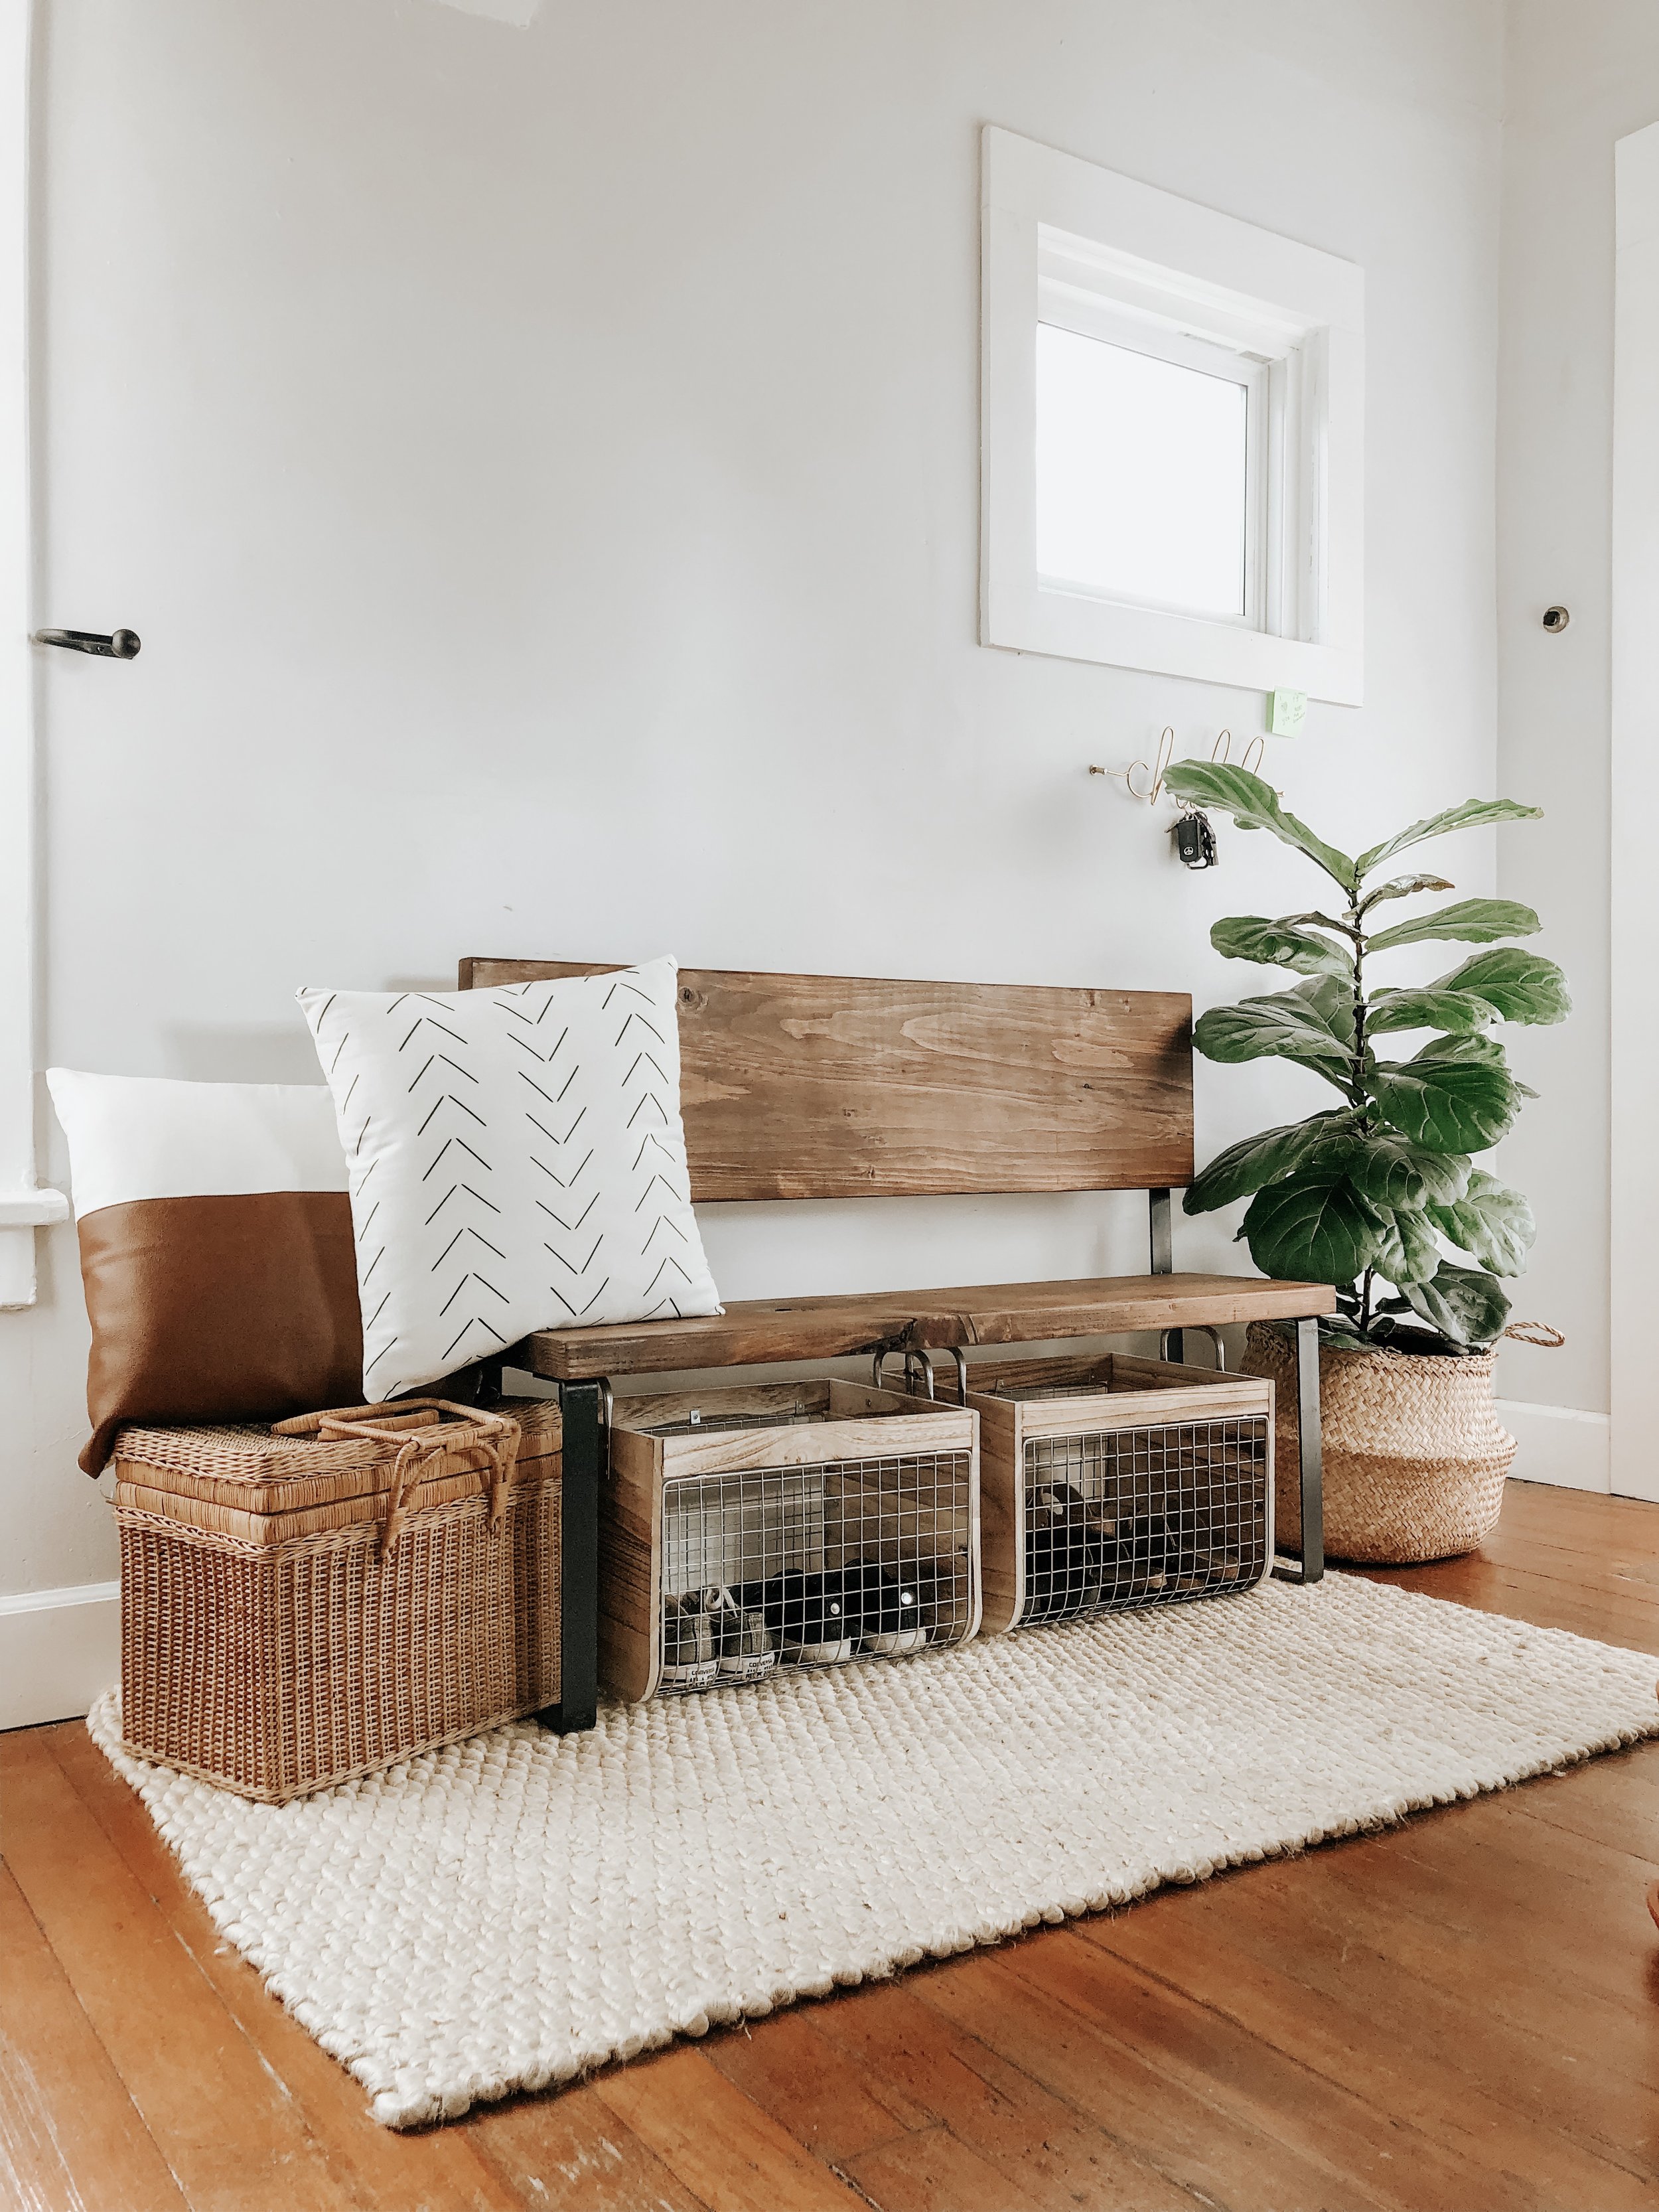
I put on the final touches, styling the area with an off-white jute rug, pillows from Woven Nook, and a couple of wood and metal RGI Home baskets under the bench to store some shoes in. (I was originally looking for baskets like these but the one’s I found were so perfect, I had to get them.) The picnic basket next to my bench was a $5 thrift shop find, and my fiddle leaf is housed in a seagrass basket.

And there we have it, another addition to the home! It’s nice to finally have somewhere to sit when I’m putting on my shoes or waiting by the door, and it really ties together the front door area. Plus, once again, what’s better than making something yourself to be sure you’re getting exactly what you want (for less!)?