DIY Rustic Fall Wreath

I woke up today feeling in the mood for fall. It might be the turn in weather or the fact that the Pumpkin Cream Cold Brew is officially on the Starbucks menu, whatever it is, I fully embrace it and look forward to bringing some of that fall coziness to my home.

Blake and I headed to TJMaxx to pick up some candles that embody spiced apple, pumpkins, and baked goods (a change in pace from the usual floral scents that float through my house). Somewhere along the way, after browsing the seasonal section, I got inspired to make a wreath to hang on the lonely nail that’s been next to my front door since I moved in.

This was something I really wanted to do last year, making different ones for all the seasons, but that never actually happened…So here’s my go at my first fall wreath.

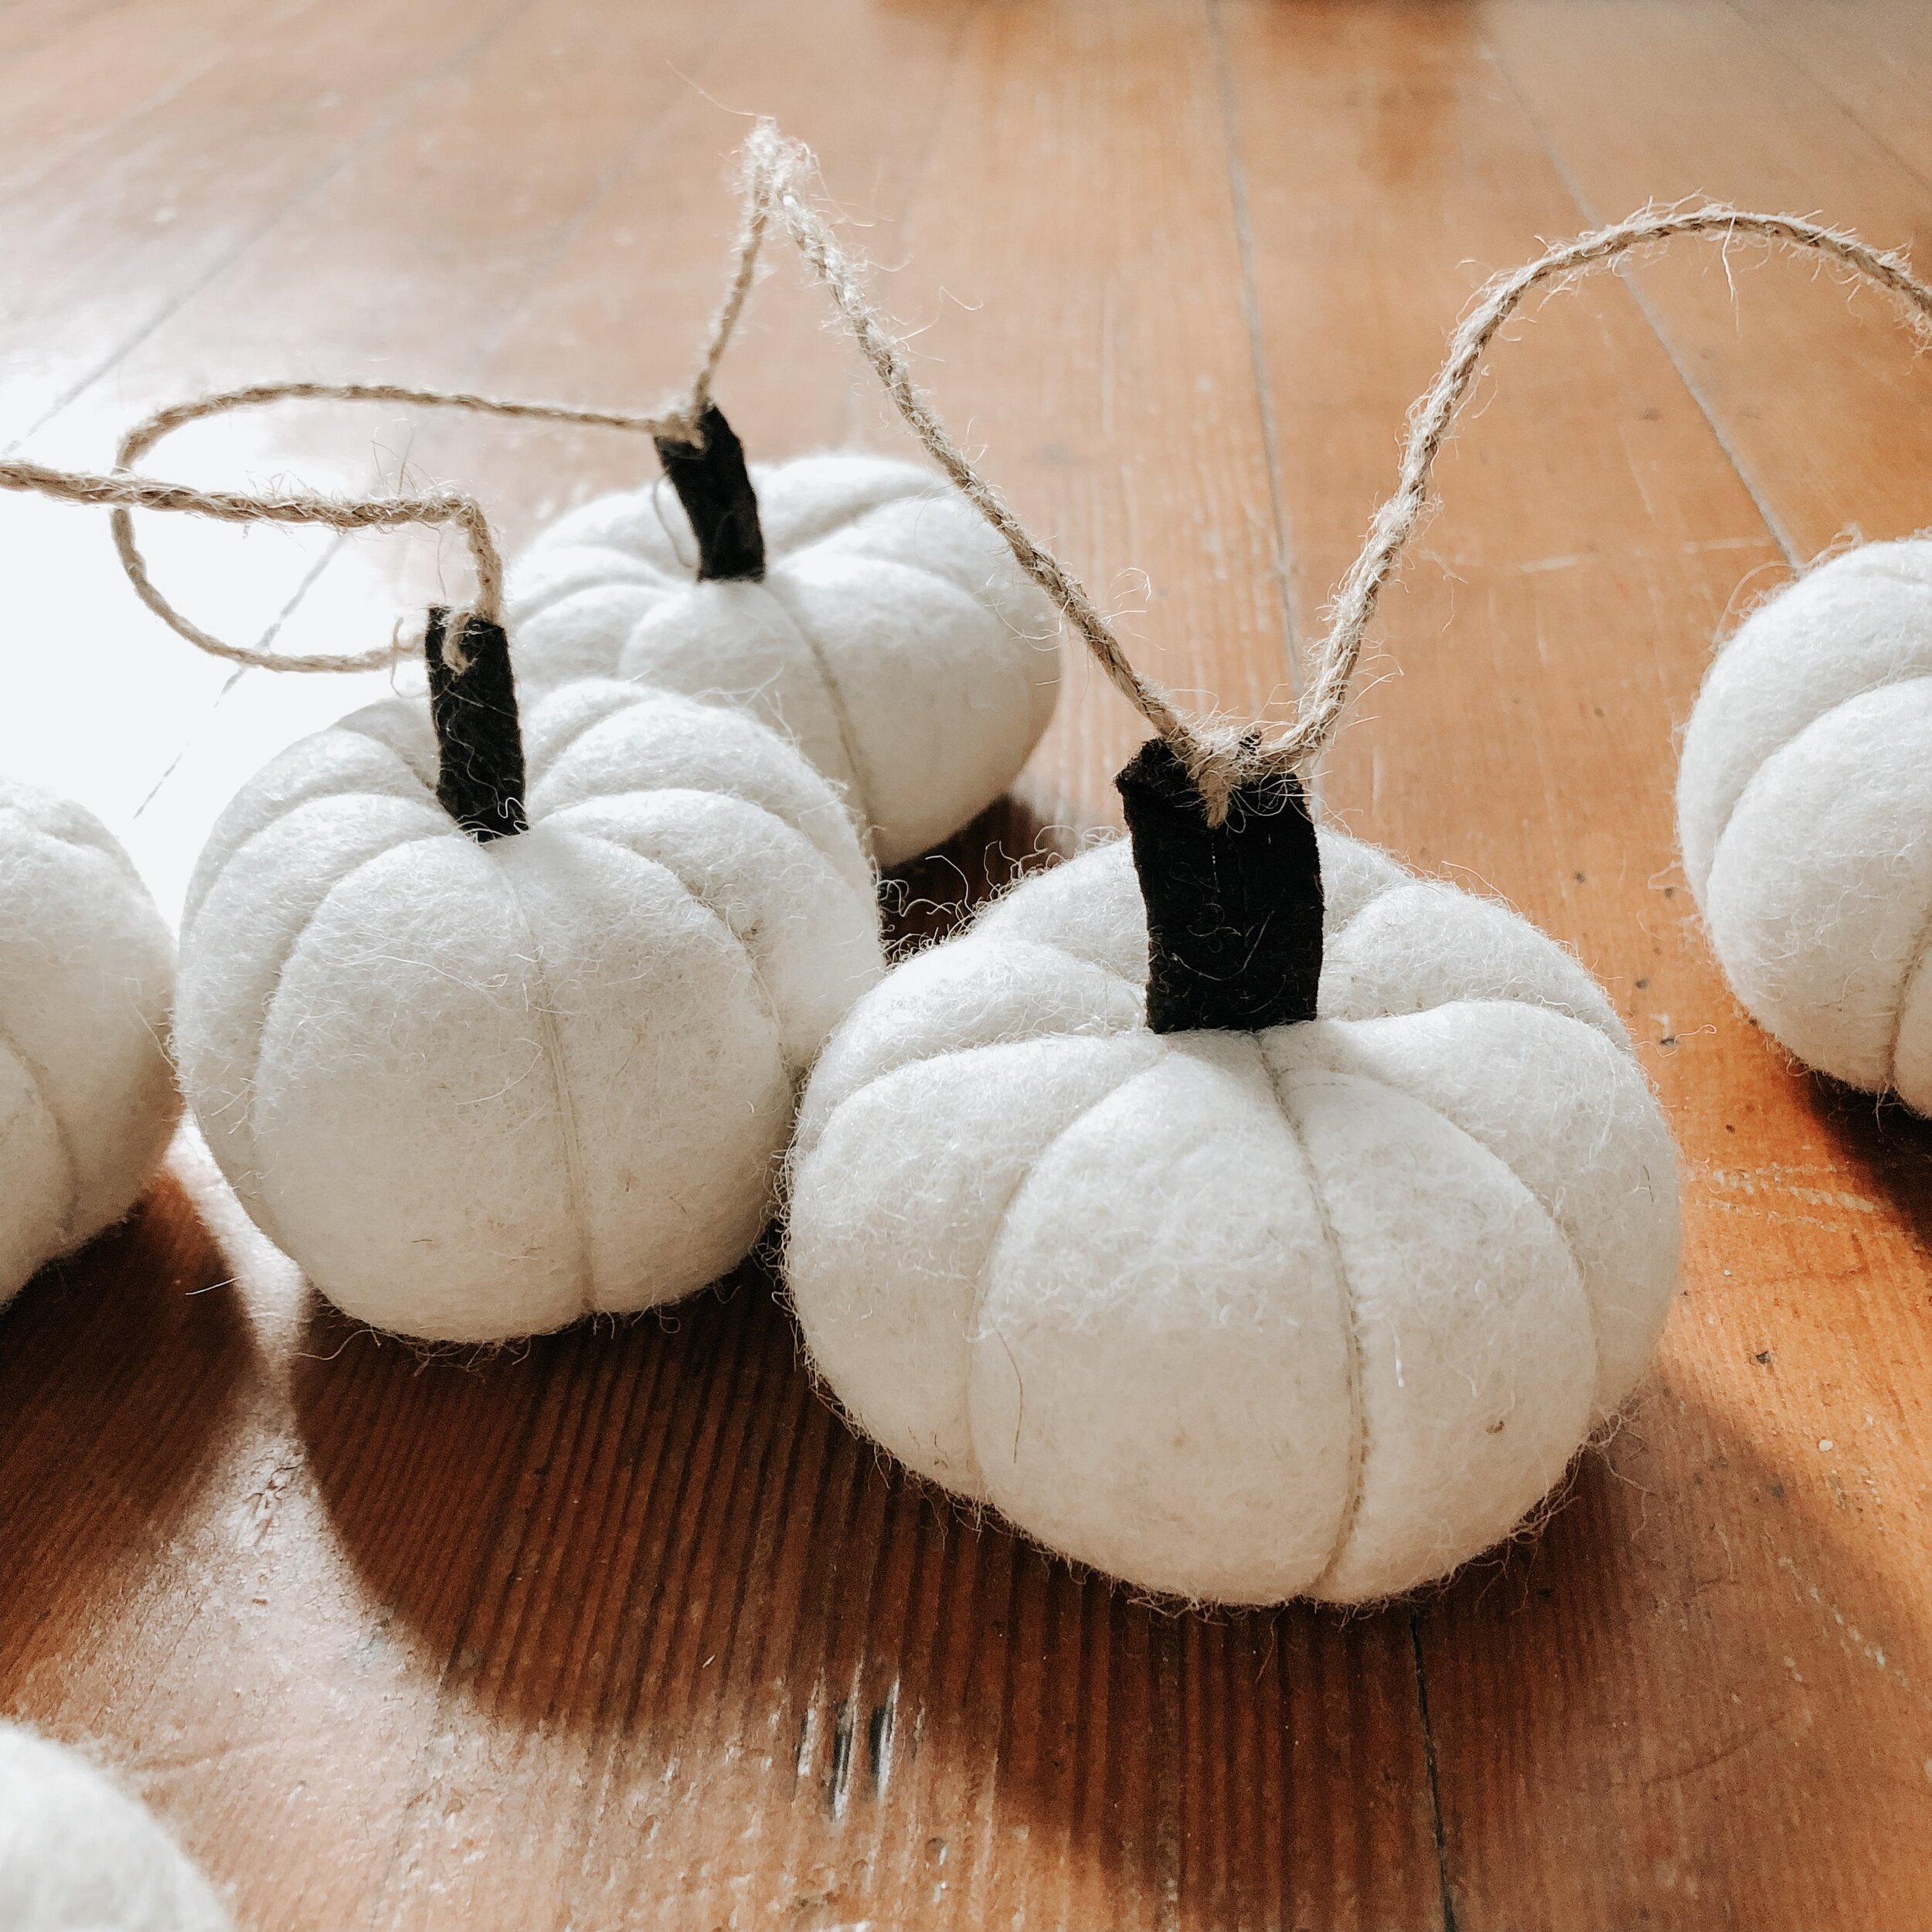
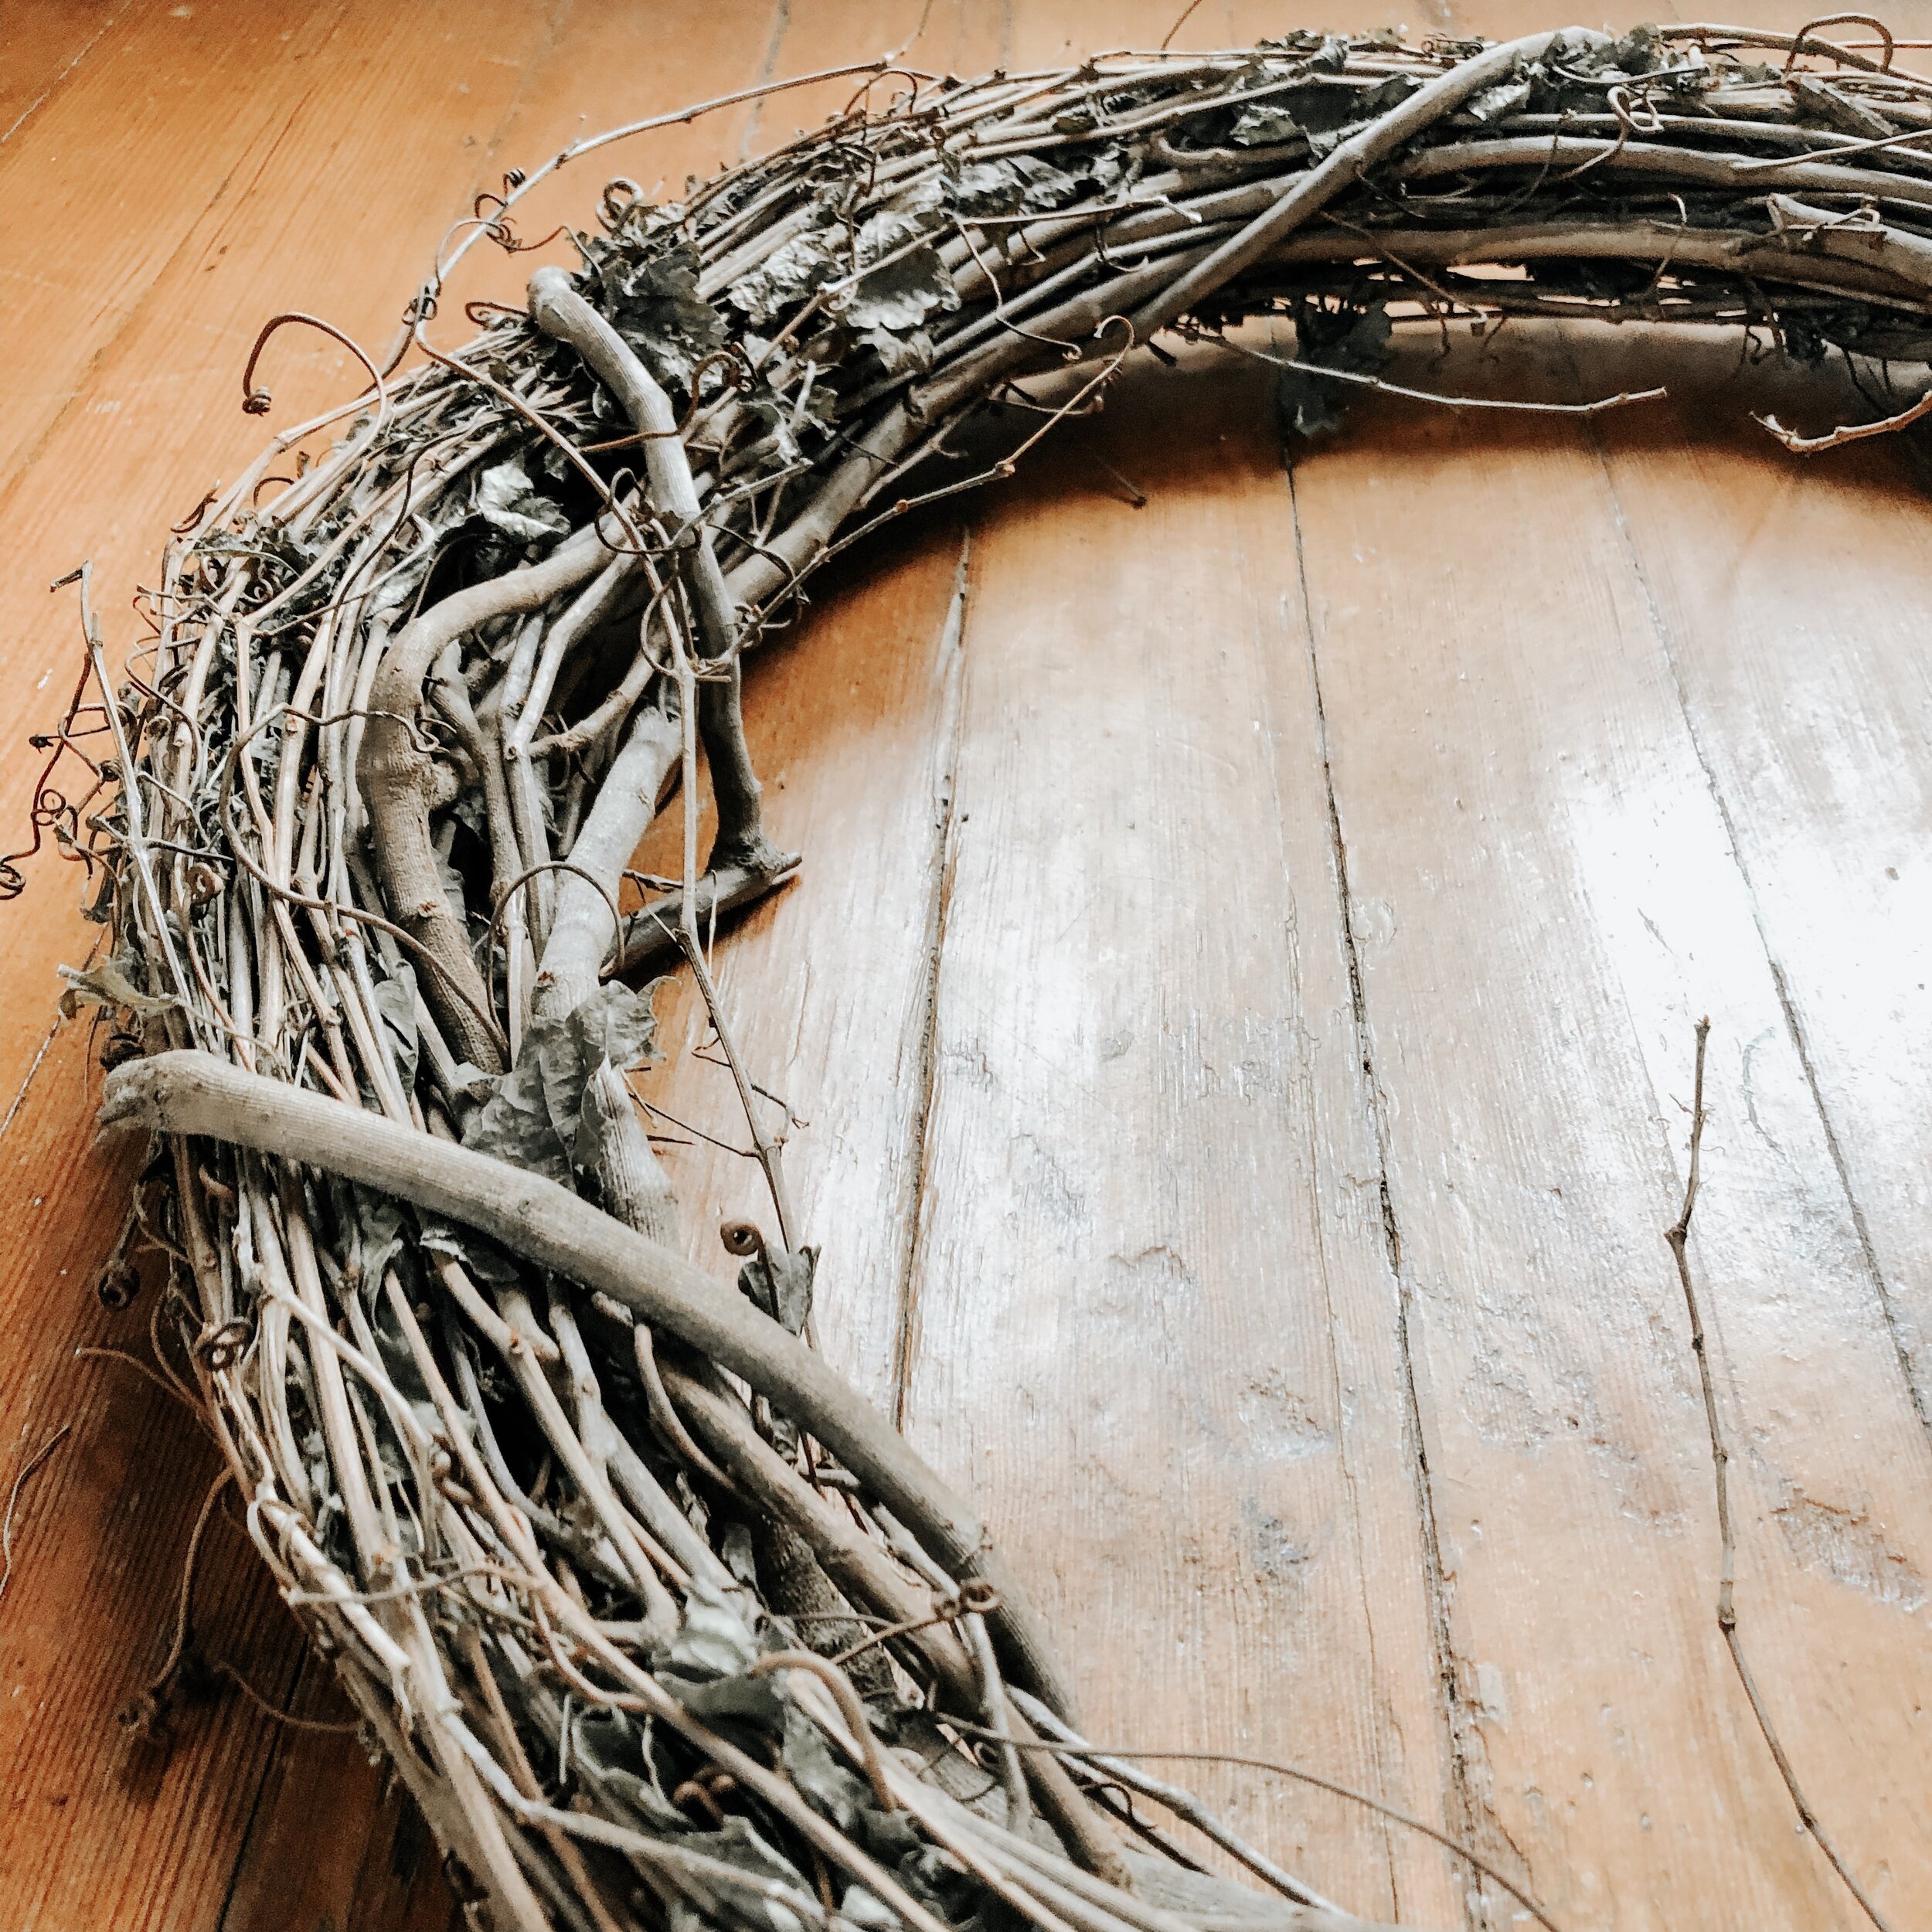
I got everything I needed from the craft store (JoAnn’s in my case). I picked up a pre-made wreath, a few different bunches of dried grasses, an assorted bag of pinecones, cotton, and leaves, and some white felt pumpkins.

There’s a lot of different styles and sizes of wreaths that come pre-made like this one. I picked one that would be a good size for the space it would be filling, and I really liked the rustic look of the sticks woven together.

The craft store also had tons and tons of different types of dry grasses and other autumn-themed decorations to choose from. I wanted a pretty neutral colored wreath, so I picked out three different textures bunches different that I felt would compliment each other nicely.

Before starting to secure the pieces, I very roughly laid out the general design to get an idea of placement.

After I had an idea of what I was going for, I started weaving the grasses into the wreath, tucking the ends in and trimming any that stuck out too far.
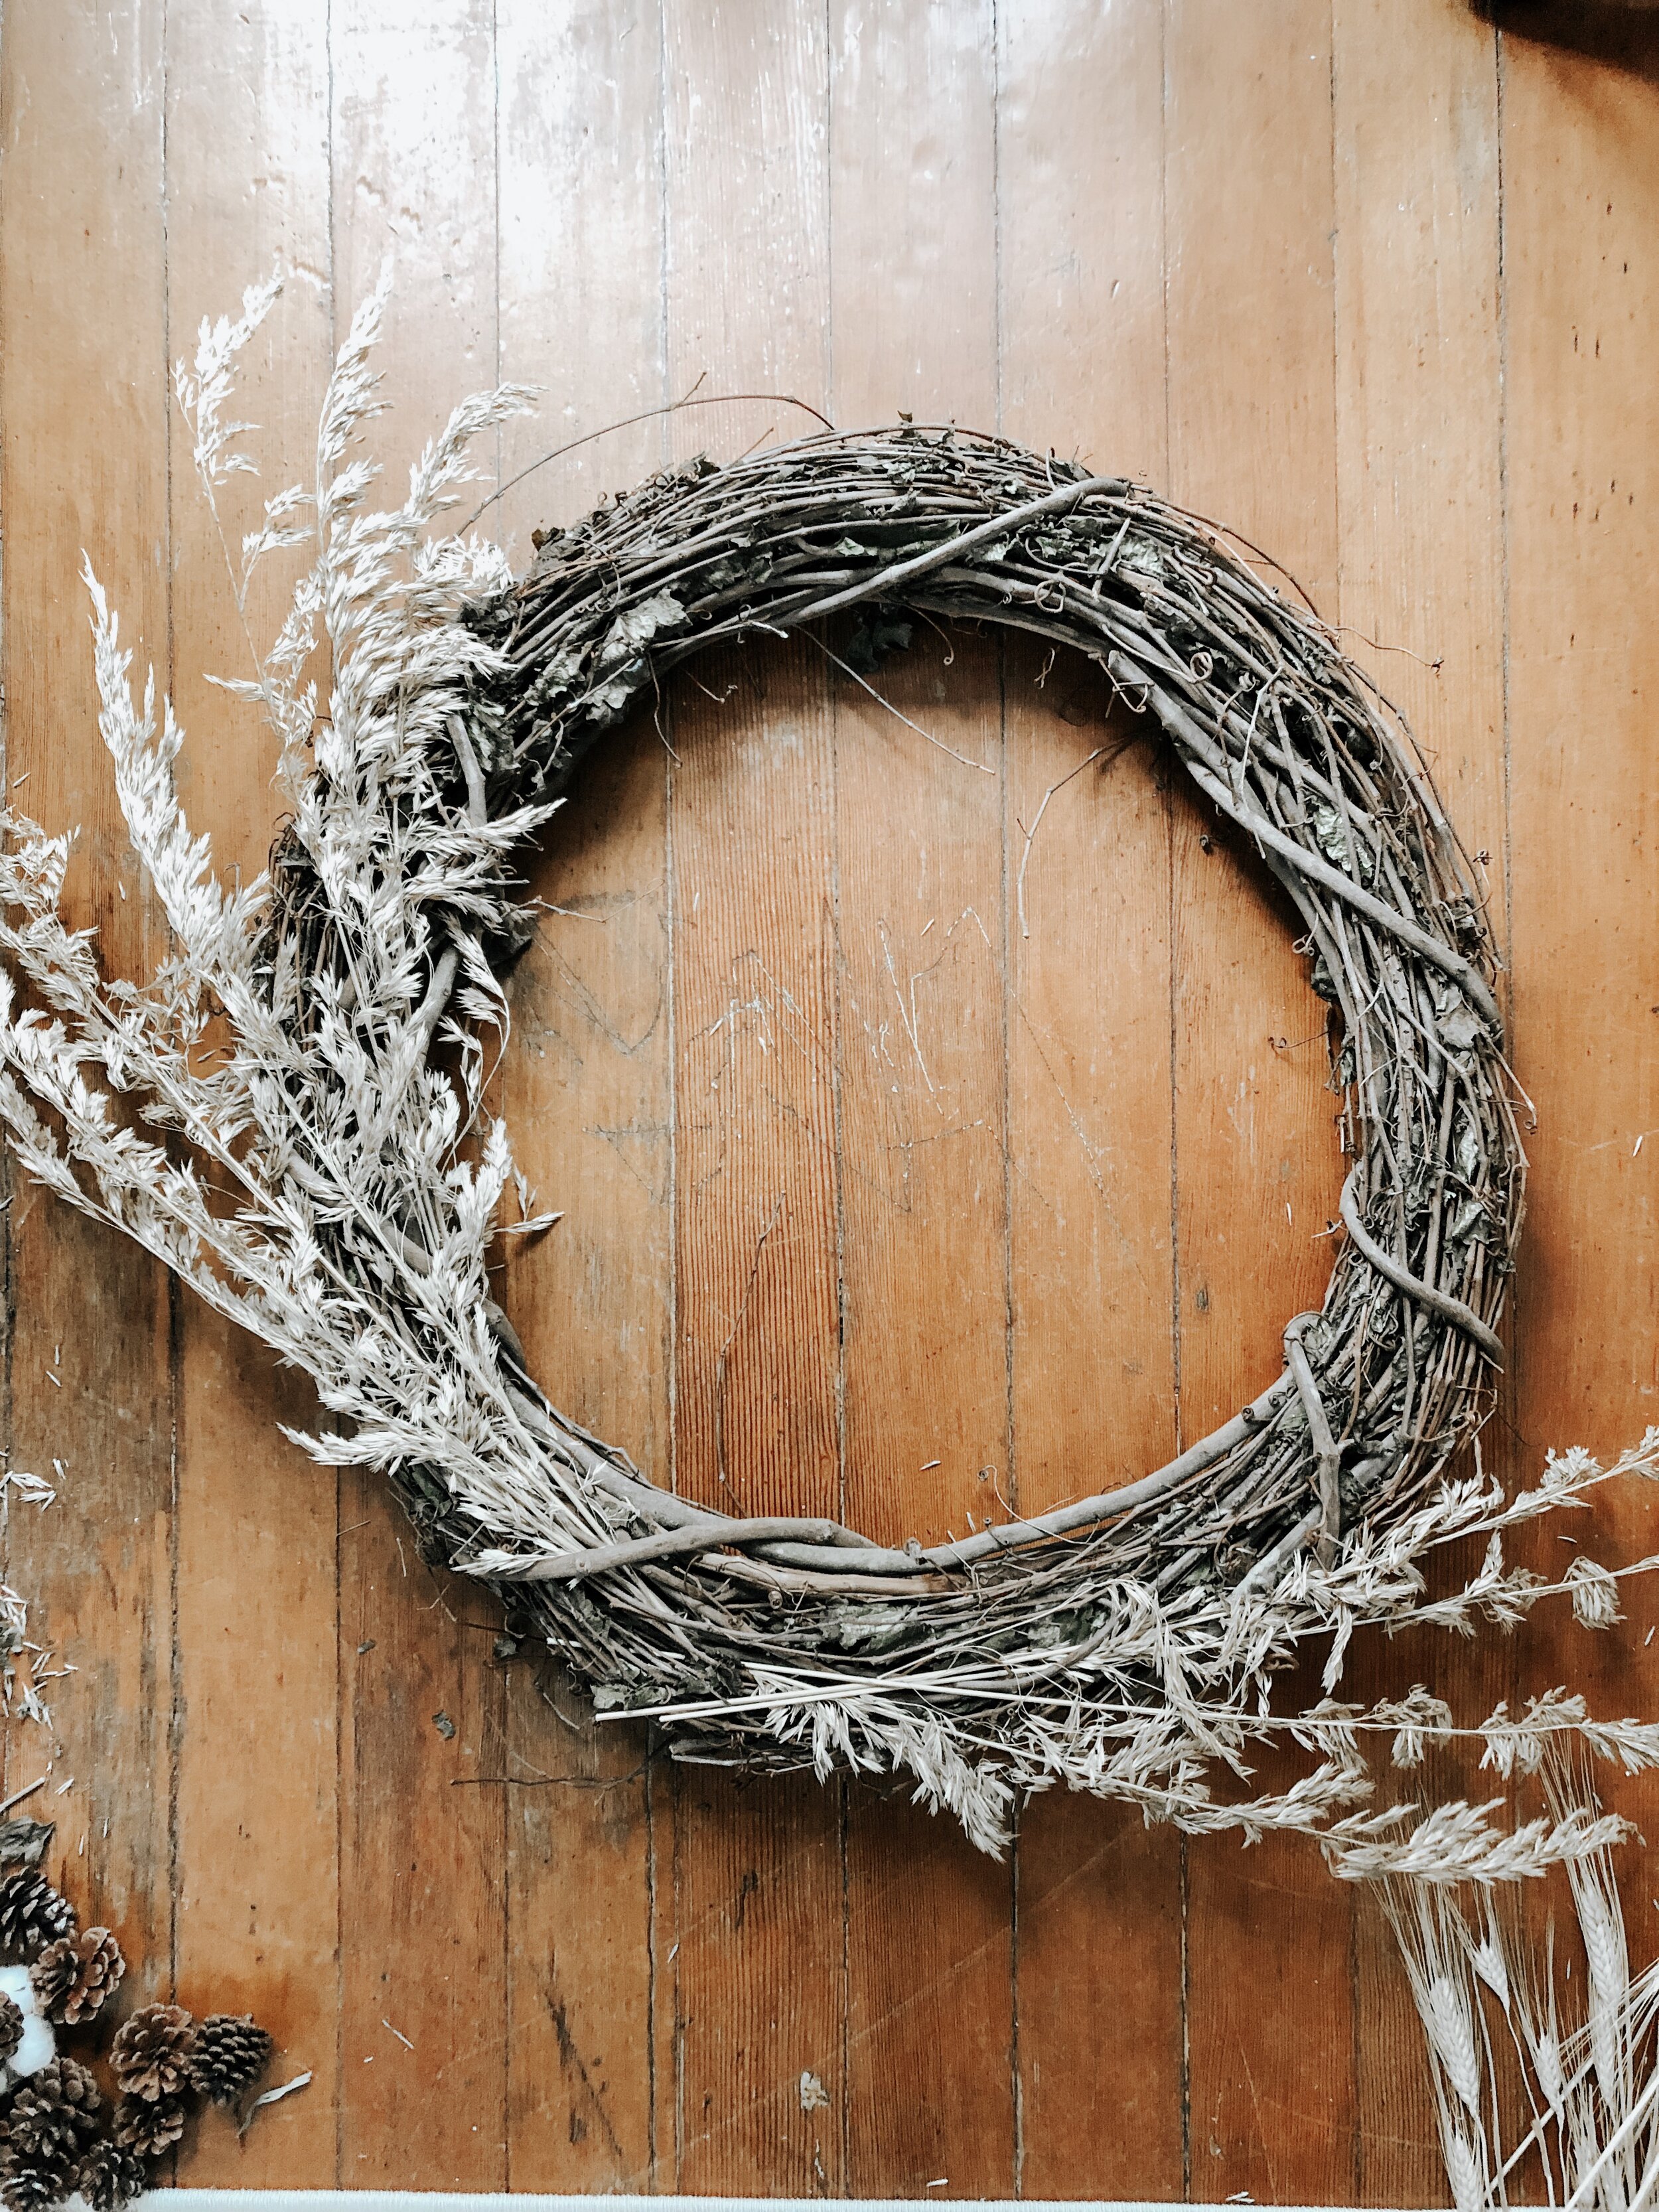
I worked with the bushier grass first, giving me the shape I wanted, then filled in with the other grasses to add some texture.

For the most part, the grasses were pretty set in place just by the way I weaved them into the sticks, but I added little globs of hot glue to secure pieces that felt a little loose or if they were drooping in ways that I didn’t like.

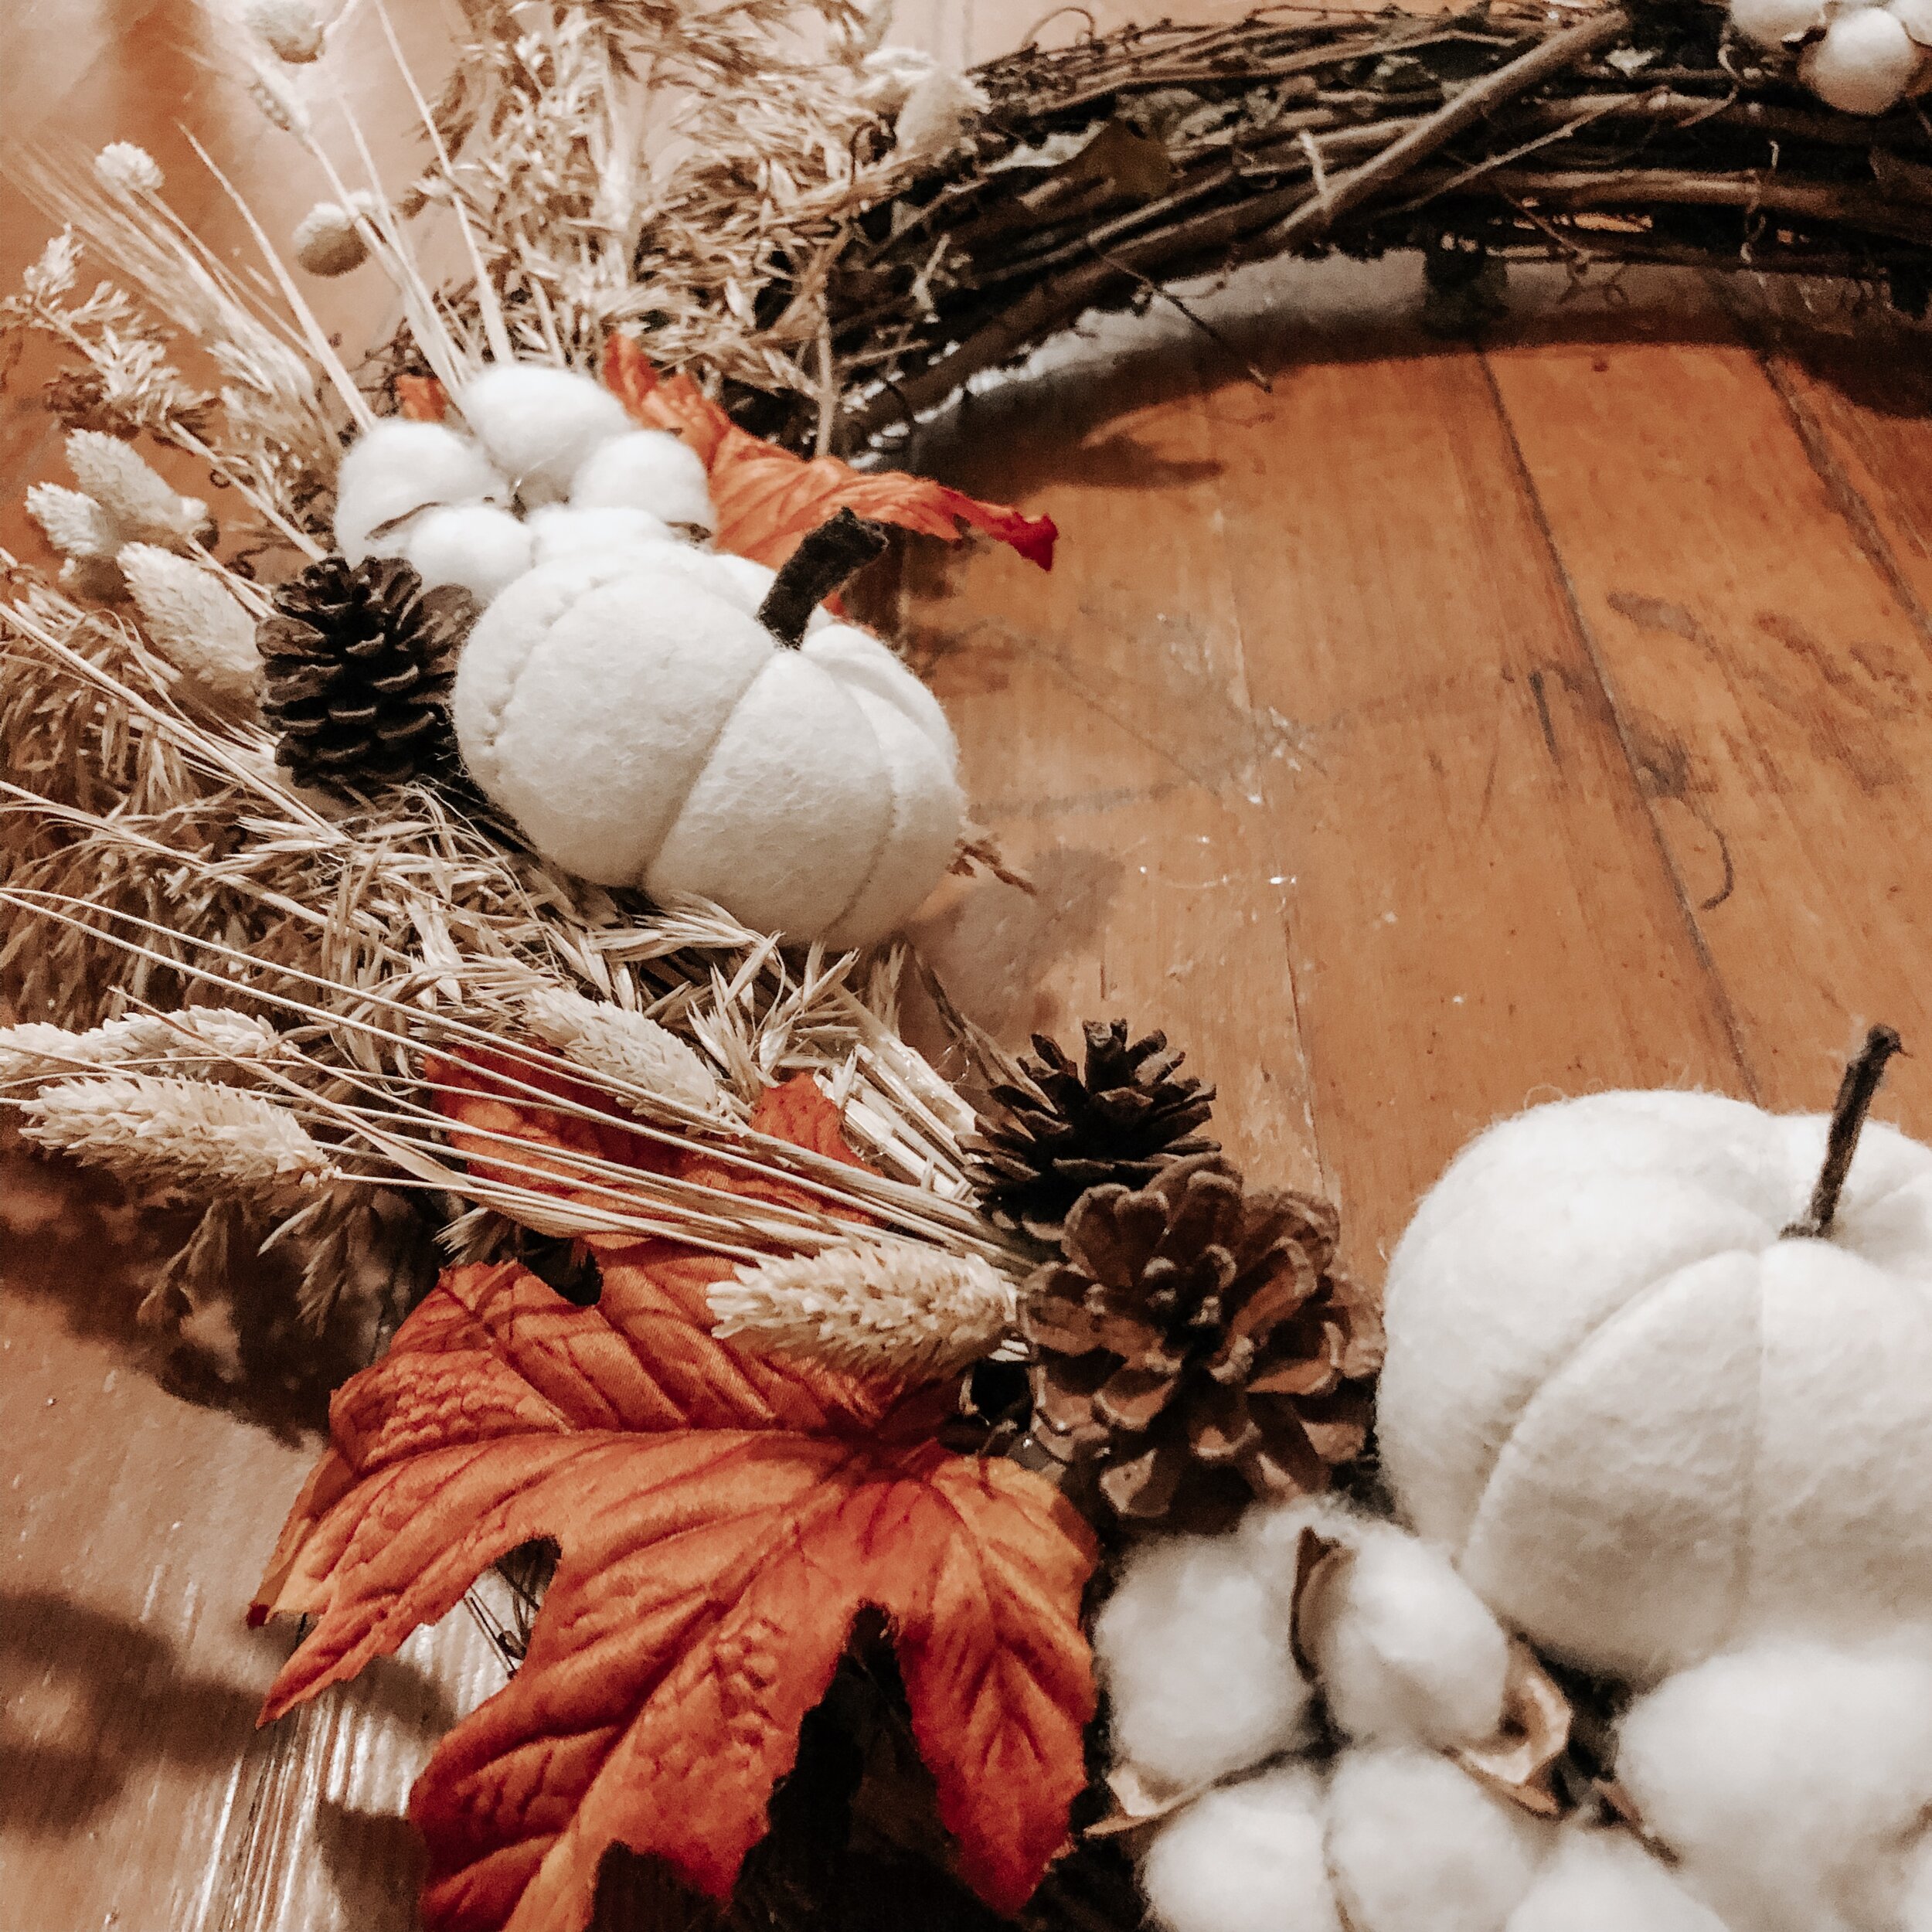
I moved onto placing the pumpkins, cotton, and pinecones next, making little clusters along where I arranged the grasses. I started by hot gluing the pumpkins where I wanted them, then worked around those with the cotton and pinecones. For each cluster, I laid them on the wreath first, re-positioning them until I liked how they looked, then glued them down.
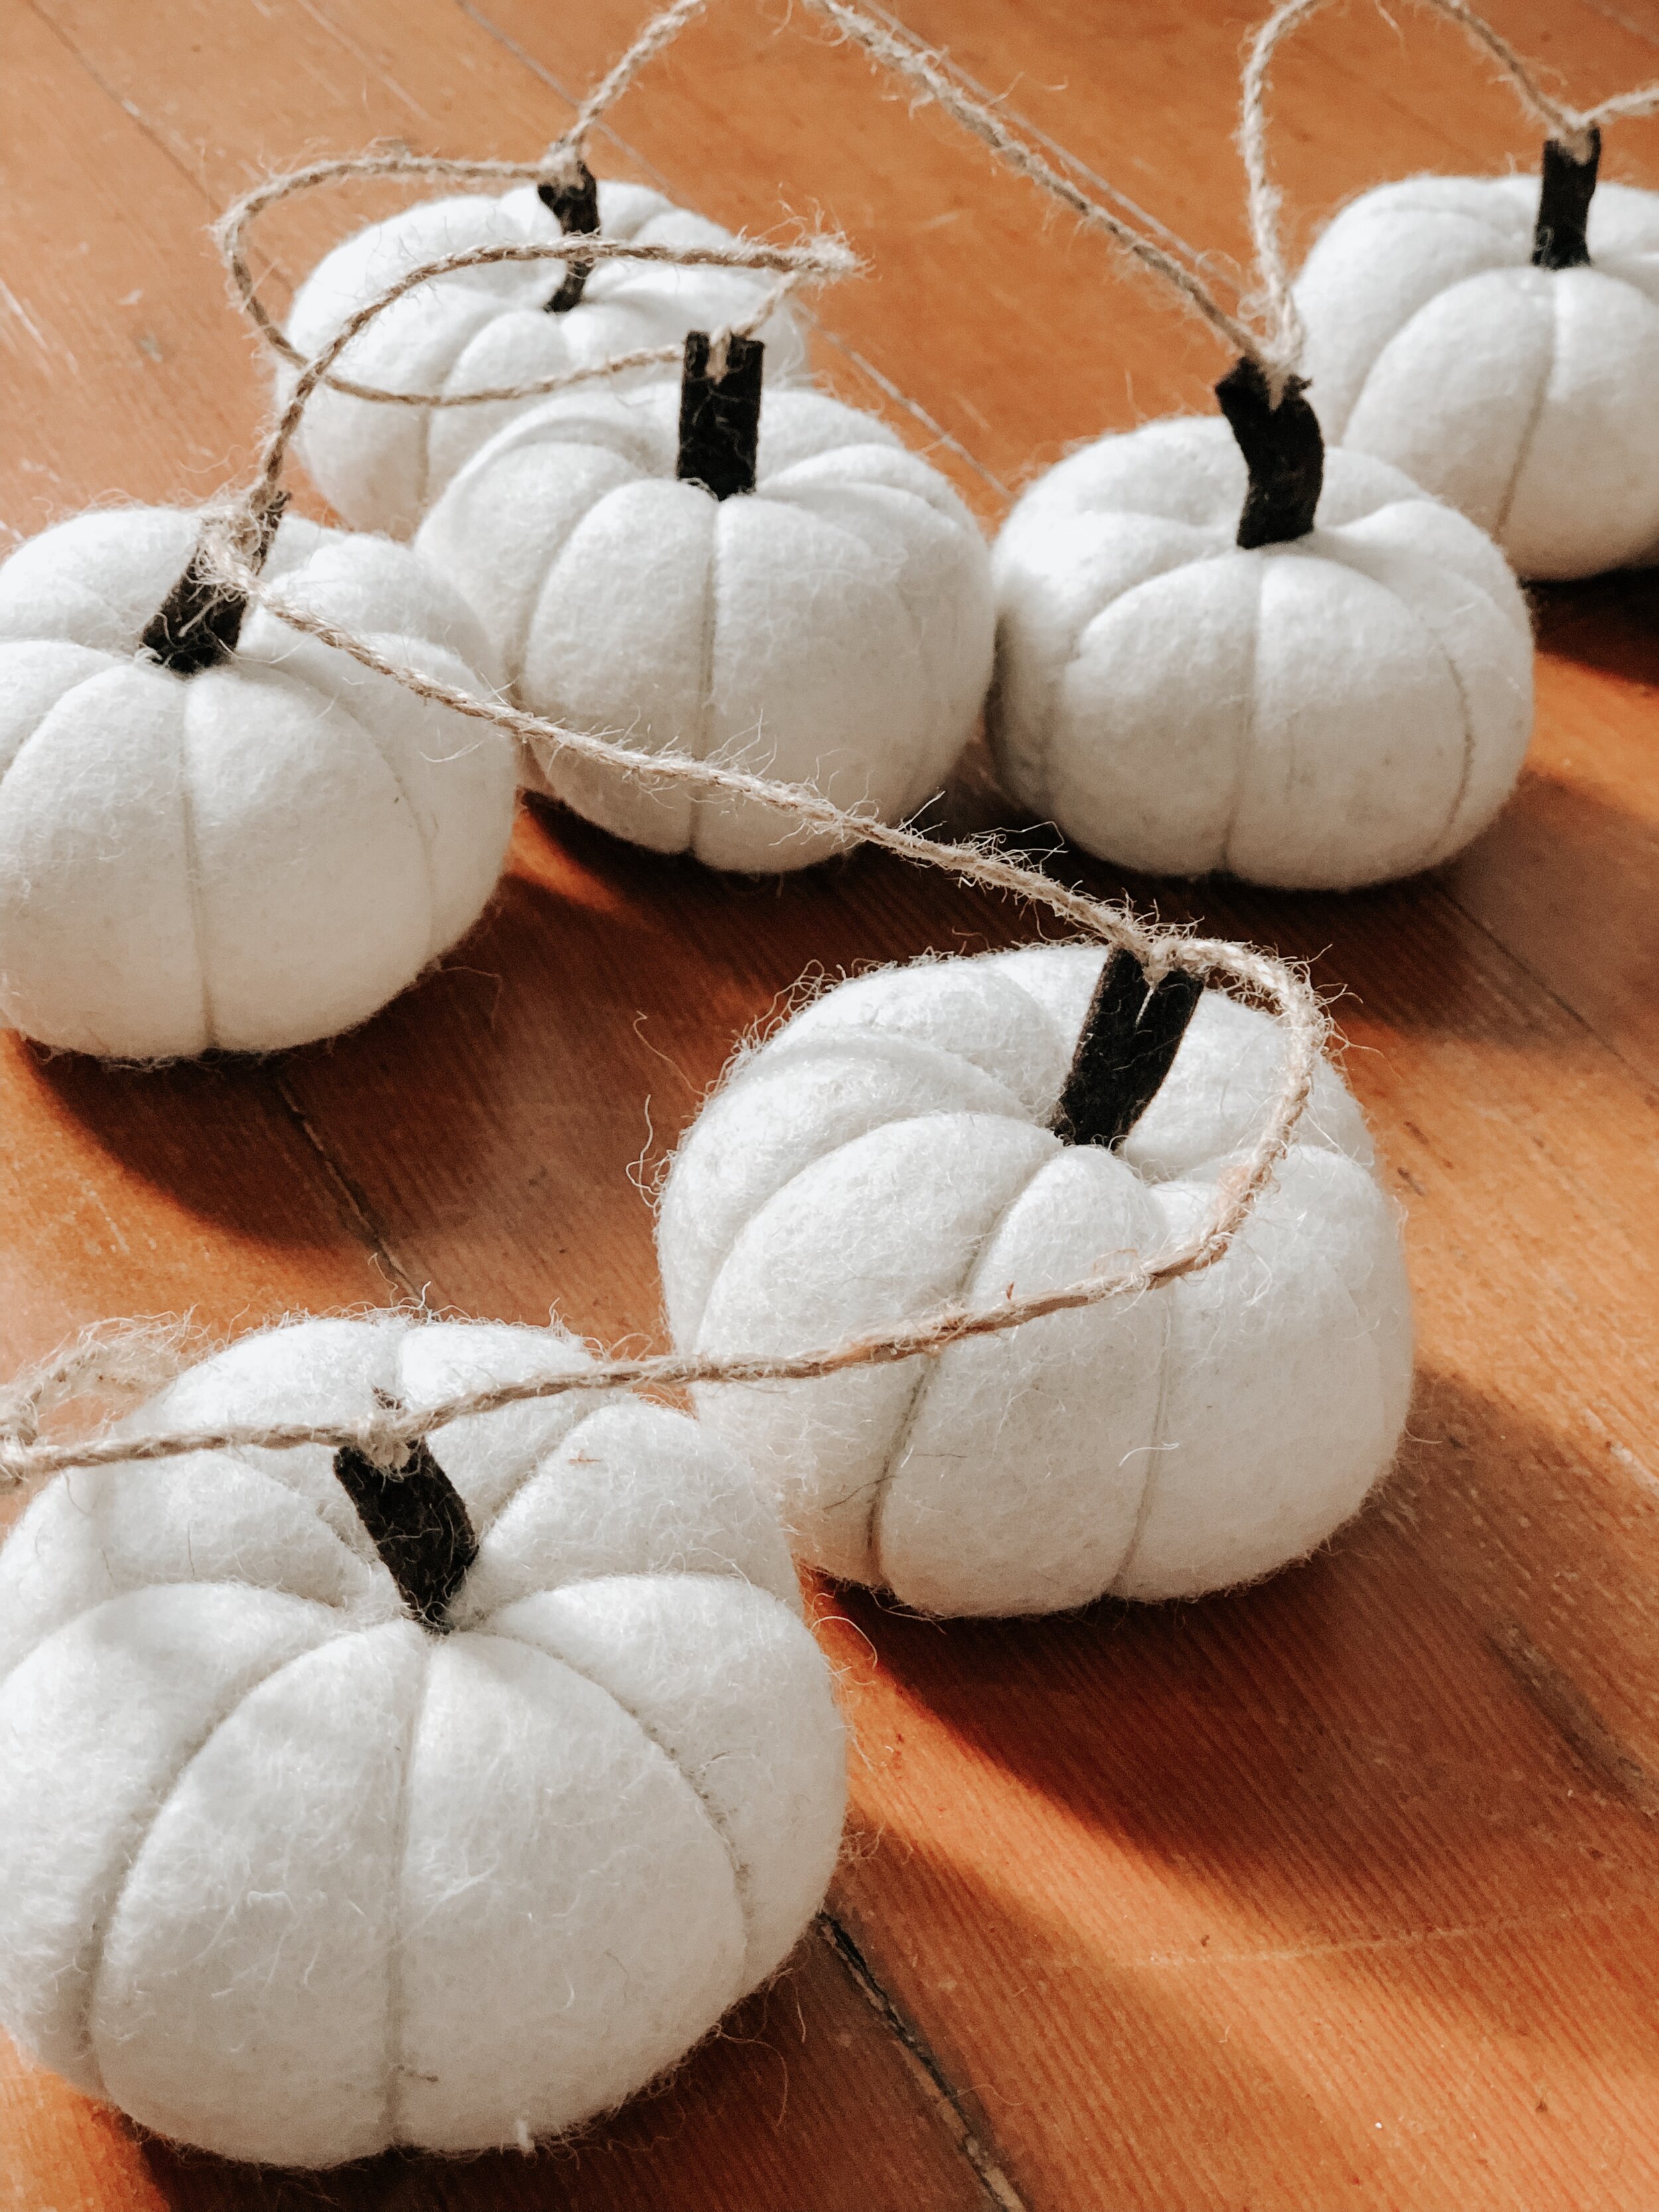
These little white felt pumpkins might be my favorite part of the arrangement. They actually came as a garland, I just untied them to use individually.

Once I was done with everything, I decided to add in these red-orange leaves to add little pops of color against the rest of the neutral colored wreath.

And there we have it! It may be a little extra work compared with buying something pre-made from the store, but I think the trade-off of getting to design it uniquely yourself makes up for that. Plus, I was able to make this wreath for around $35, so all in all, I’m pretty pleased!

Finally something to put up on that nail! Hope a little bit of fall decor helps you feel even just a tiny bit better about those sunny summer days coming to an end.